Vectromirror Final Level Walkthrough
Final level walkthrough. This level isn't nearly as linear as the others, so this is a little walkthrough to help you (and me when I inevitably forget how it works) get past it.
How it works
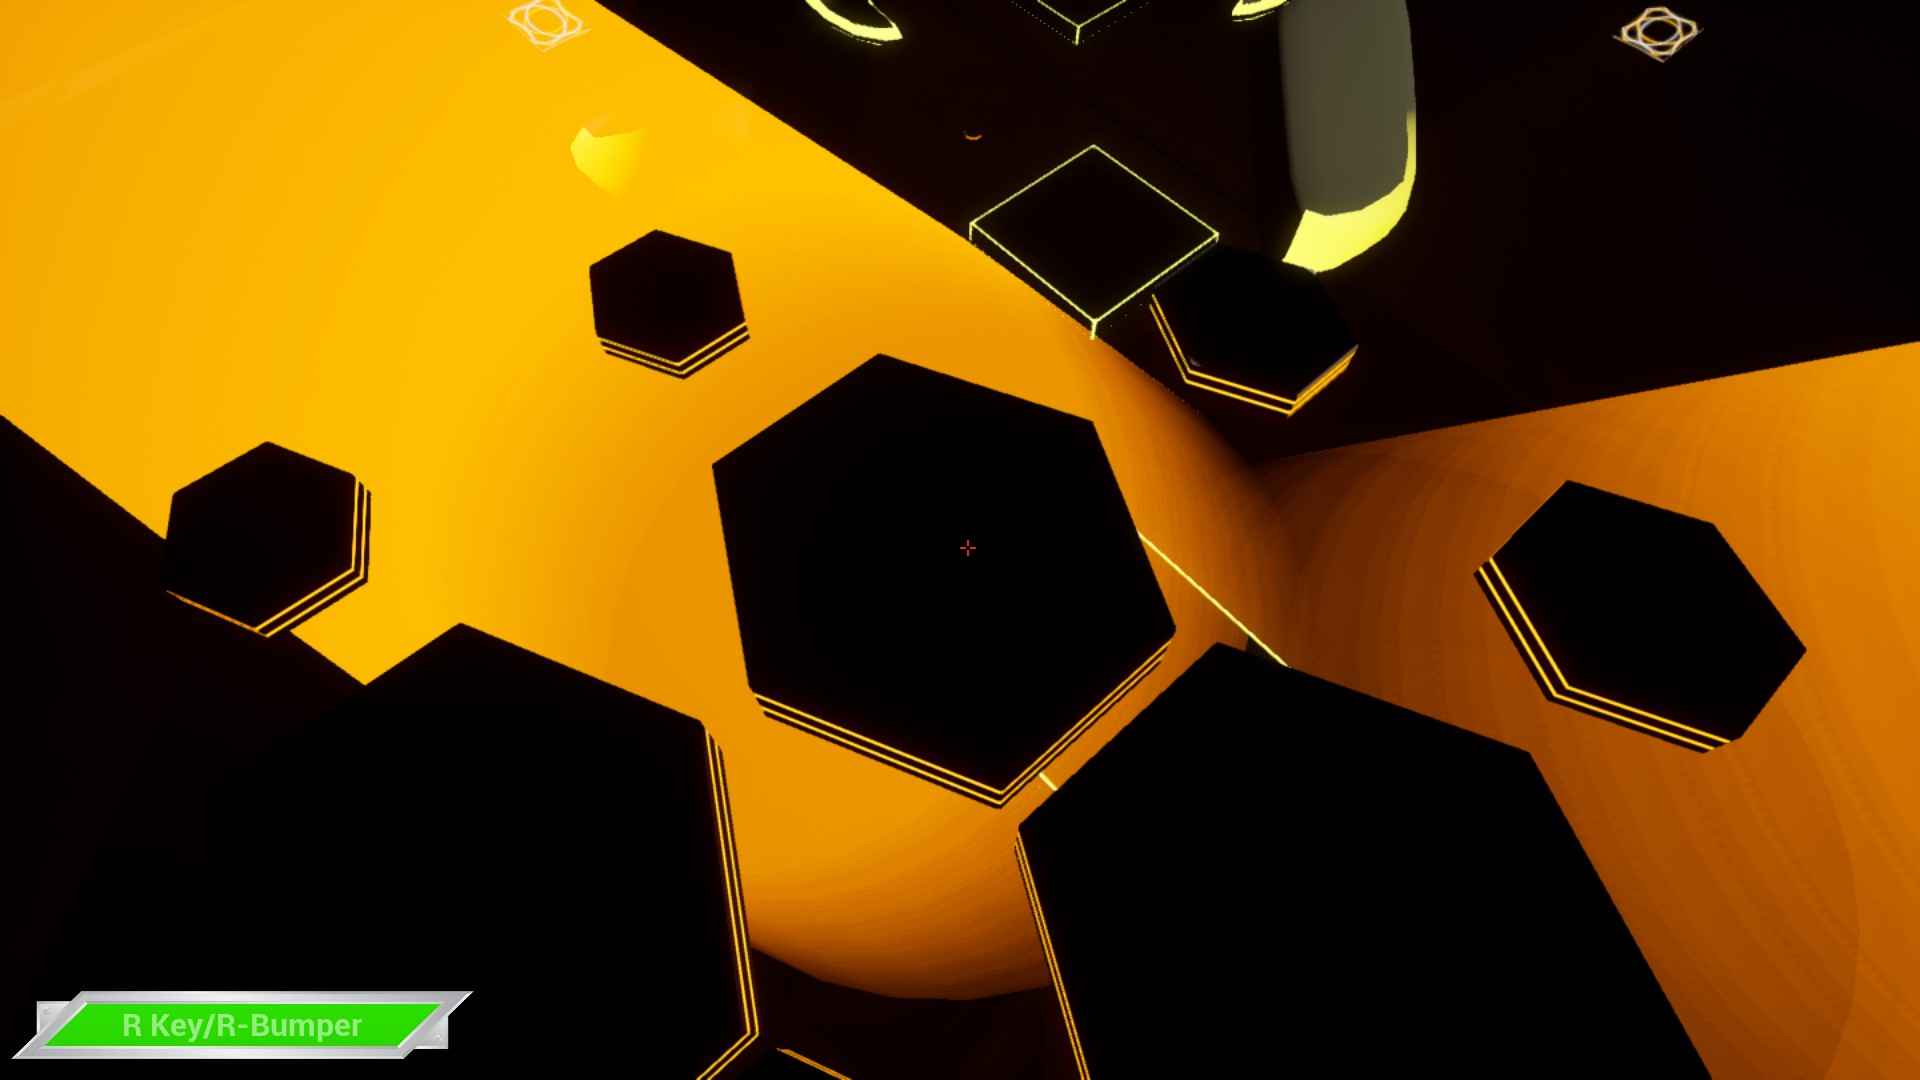
This level requires you to collect four green orbs from four corners under the map. You spawn at the top and can then take one of two paths down. The first is a drop to the bottom into a maze via many grippable platforms (referred to in this guide as "the tube"). The second is a drop to a walkway over the maze (referred to as "the catwalks").

the tube

the catwalks
Orb One: Misery (blue room)
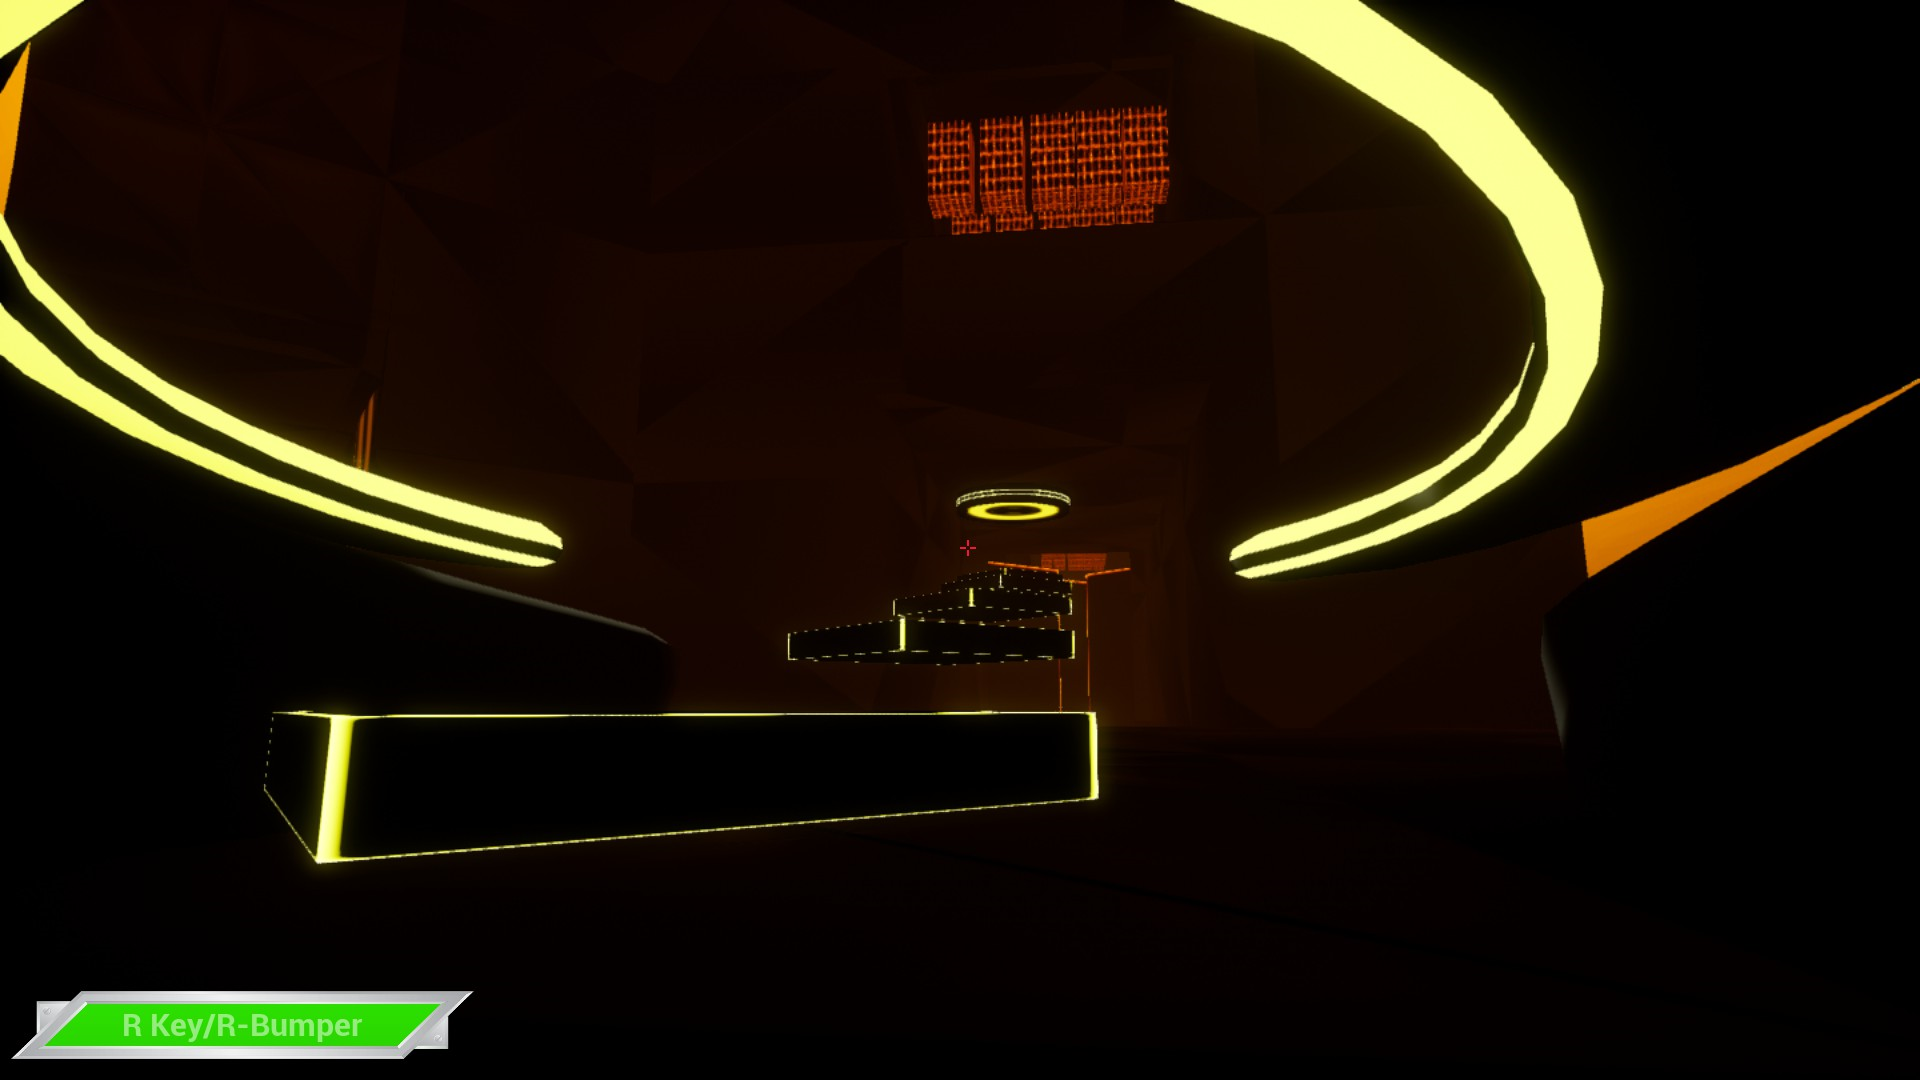
To get to this room, go to the catwalks and jump onto the closest spiral staircase. From there, look out across the room. You will need to navigate the catwalks and dodge the seekers, then reach the staircase opposite you and to the left, image below.
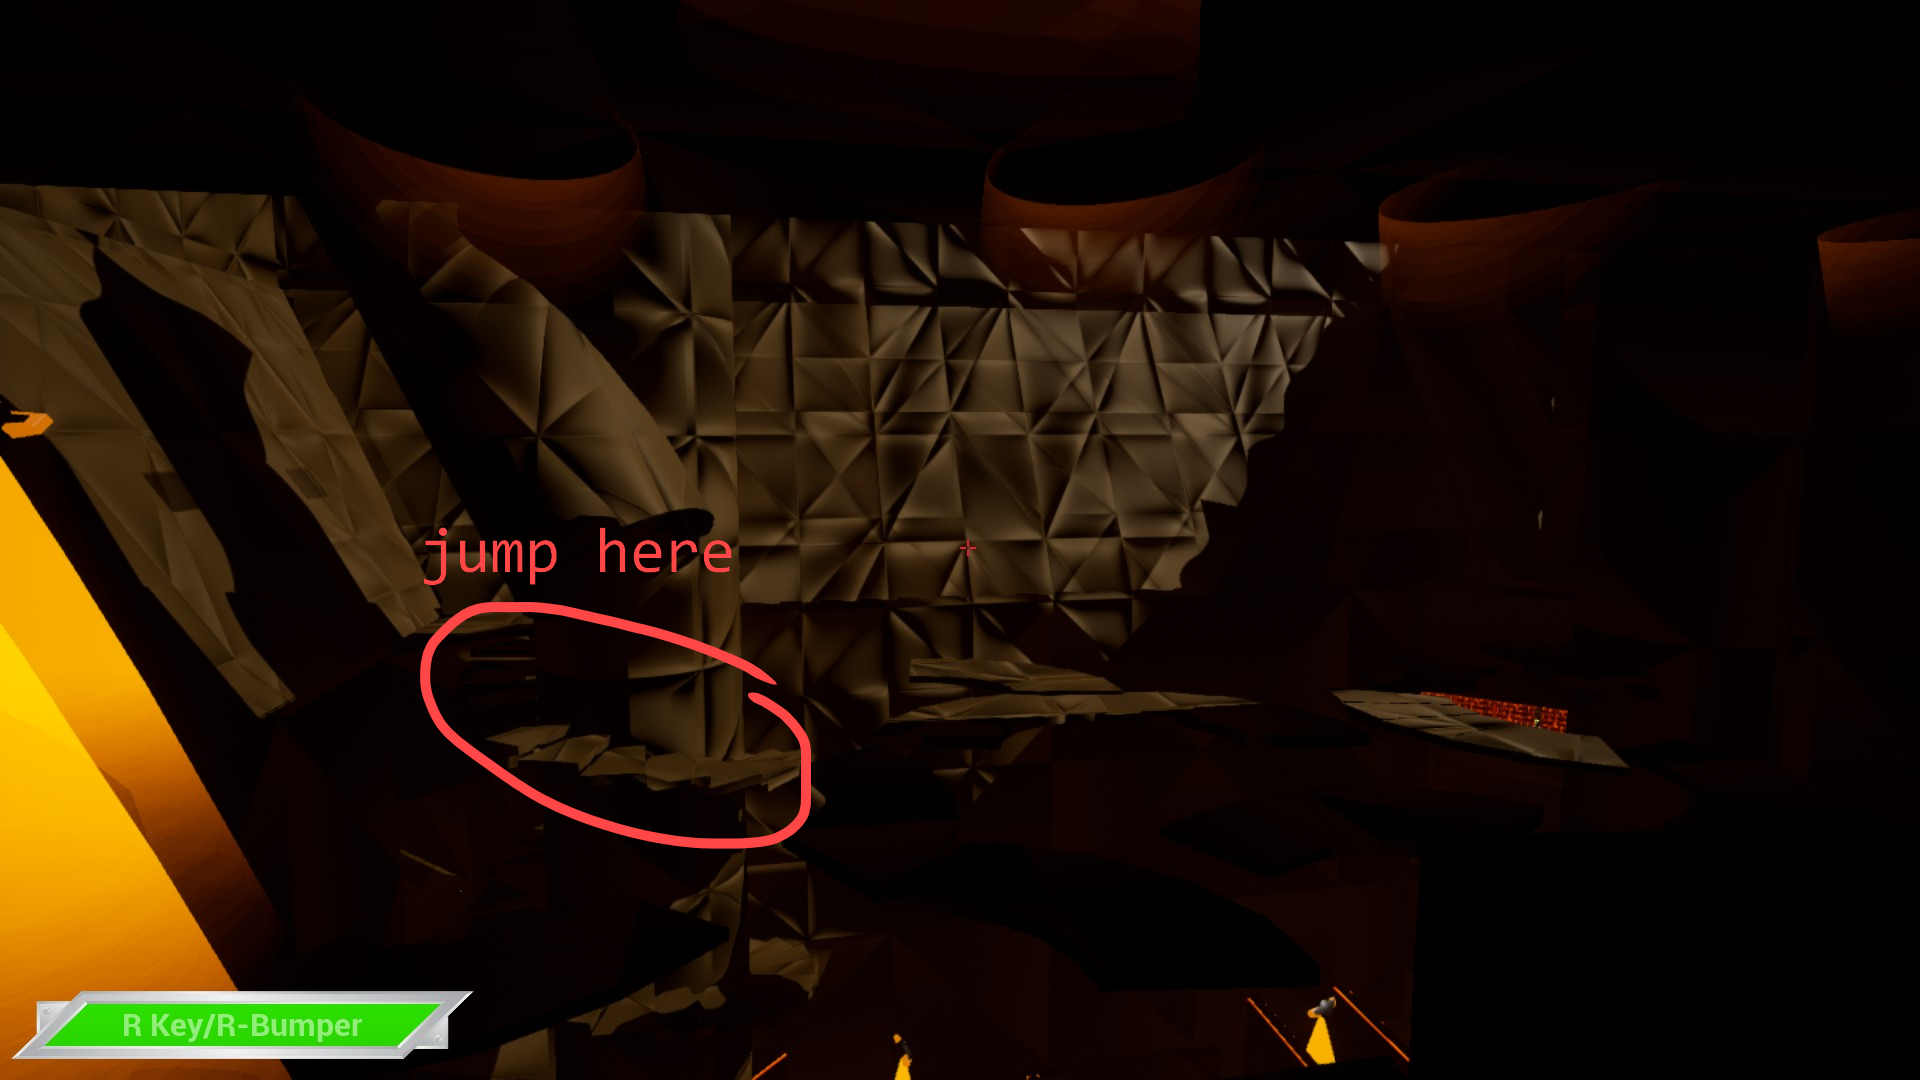
Follow the staircase down and around until you see the blue room behind the orange grid-textured boxes. We need to enter the blue room from this side to reach this rooms green orb. If you enter from the front or side entrances on the bottom floor, you cannot reach the orb.
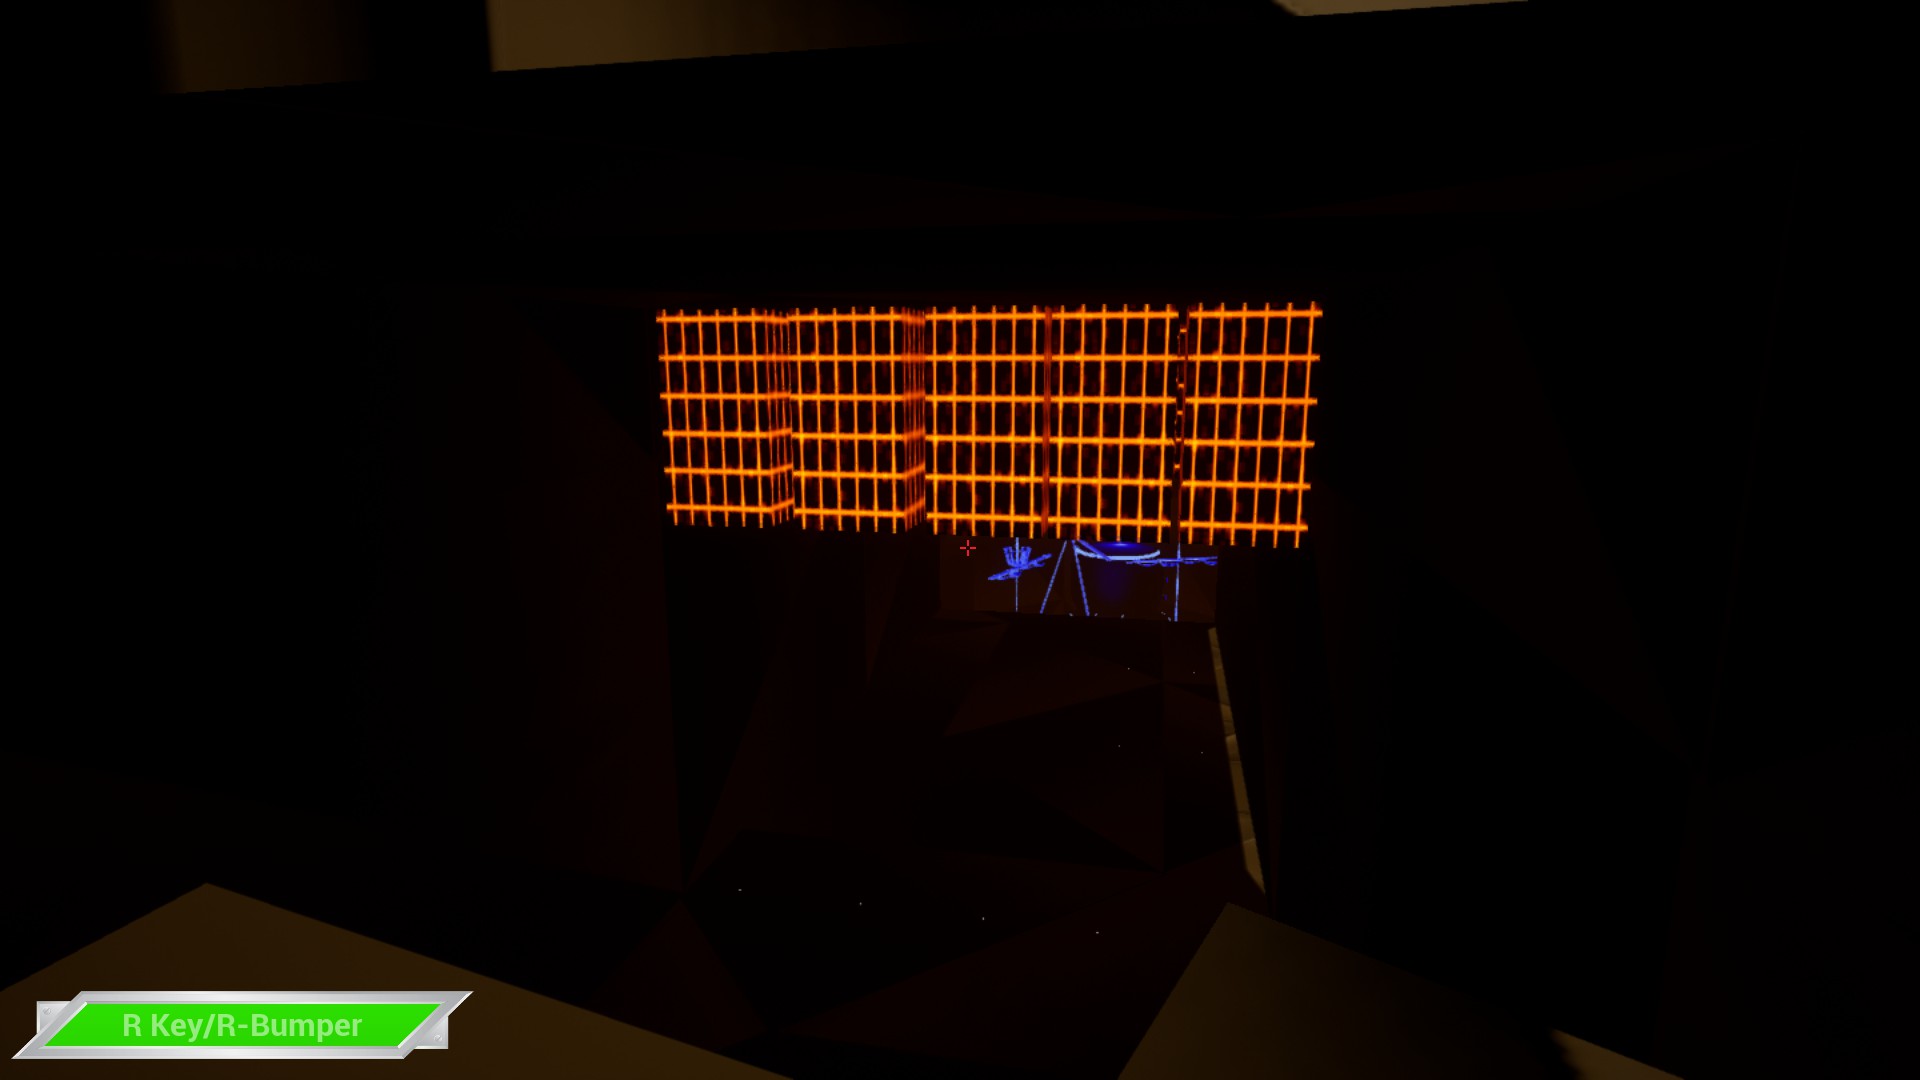
Drop down to the floor under the orange boxes and walk to the blue room, but watch out! The orange boxes will rapidly descend to hit you when you walk under them. To dodge this, jump as you pass under them to dodge their trigger. Once you pass them, it should be a few straight jumps to the blue cylinder that the orb is on top of. Jump over the ship masts to reach it.
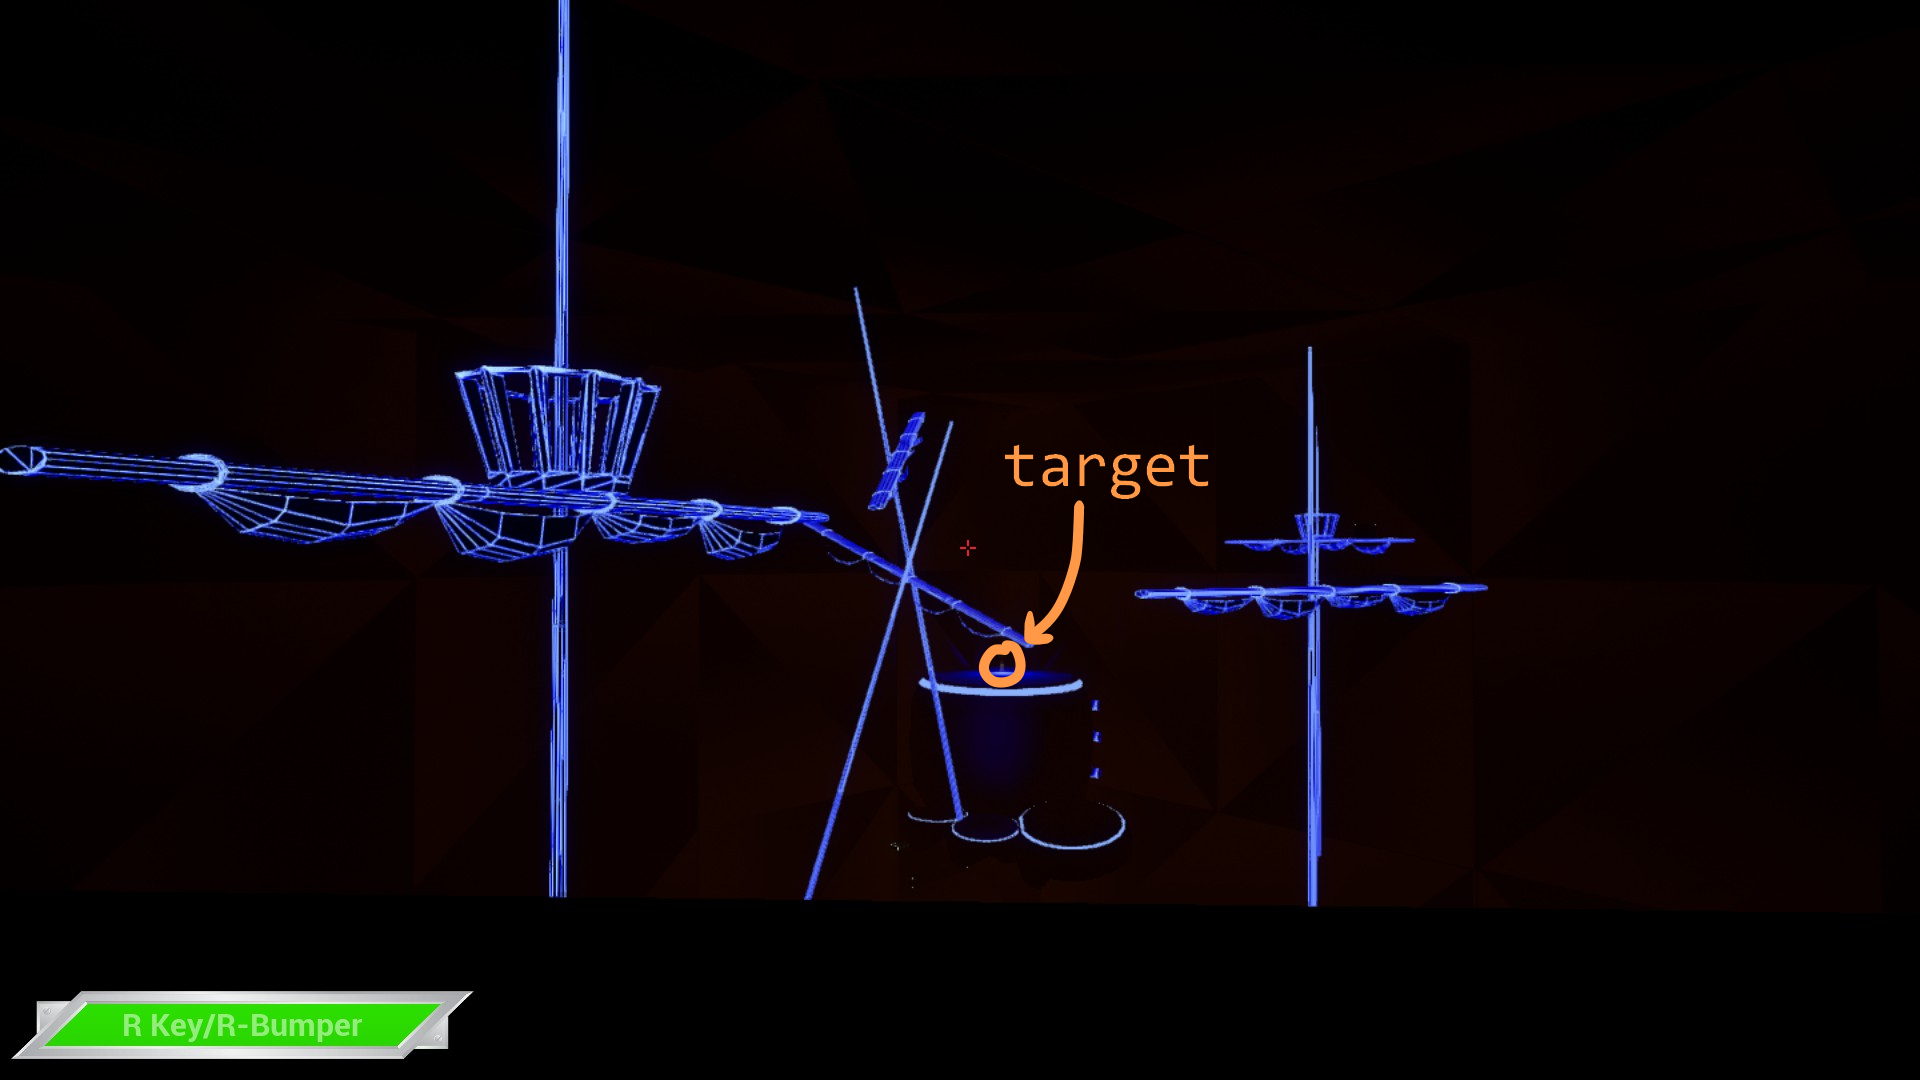
Now that you're on top of the blue cylinder on the opposite side of the room, you can collect your first orb. Good job!
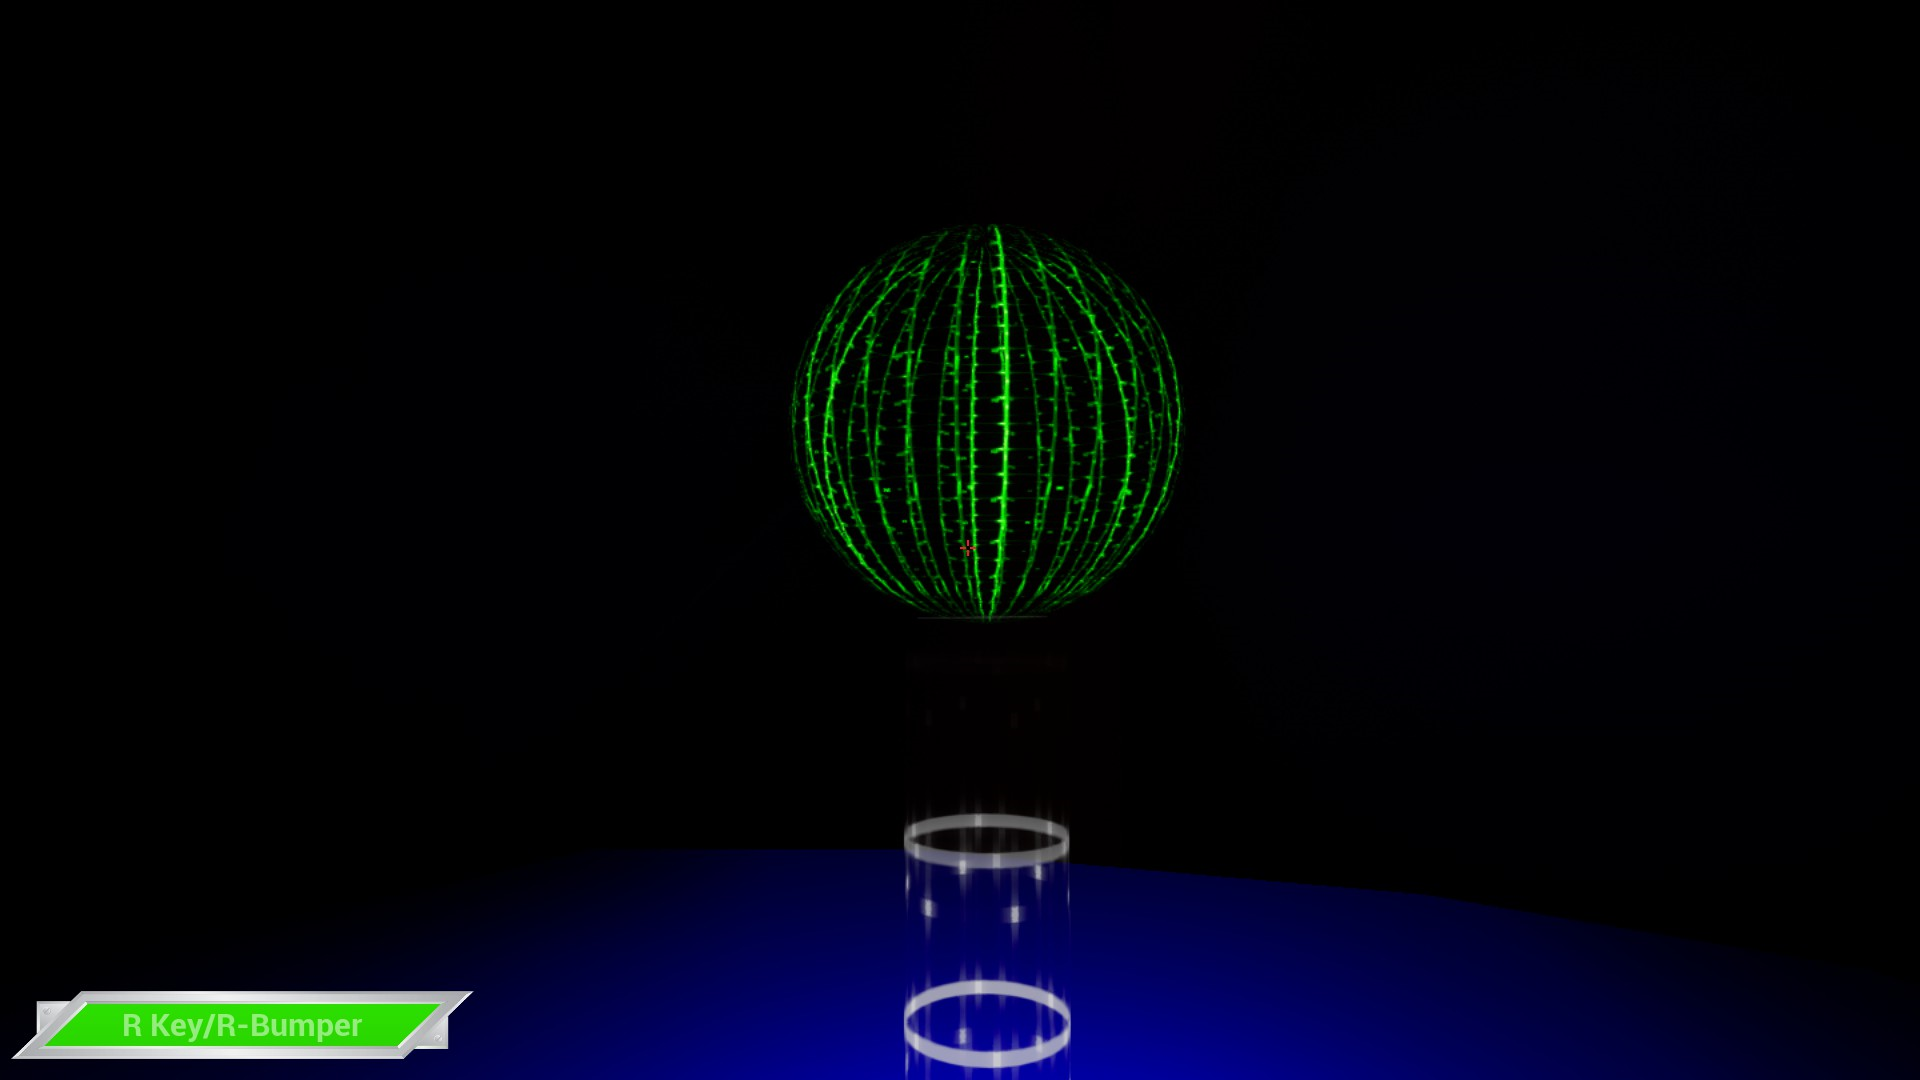
Orb Two: Joy (yellow room)
Unfortunately, this isn't the end of the blue room. You can't get back onto any of the masts from your current position (to my knowledge), so you'll need to grab the nearest box and drop it into the death grid under you. The closest box should be on a mast to the left of the room.
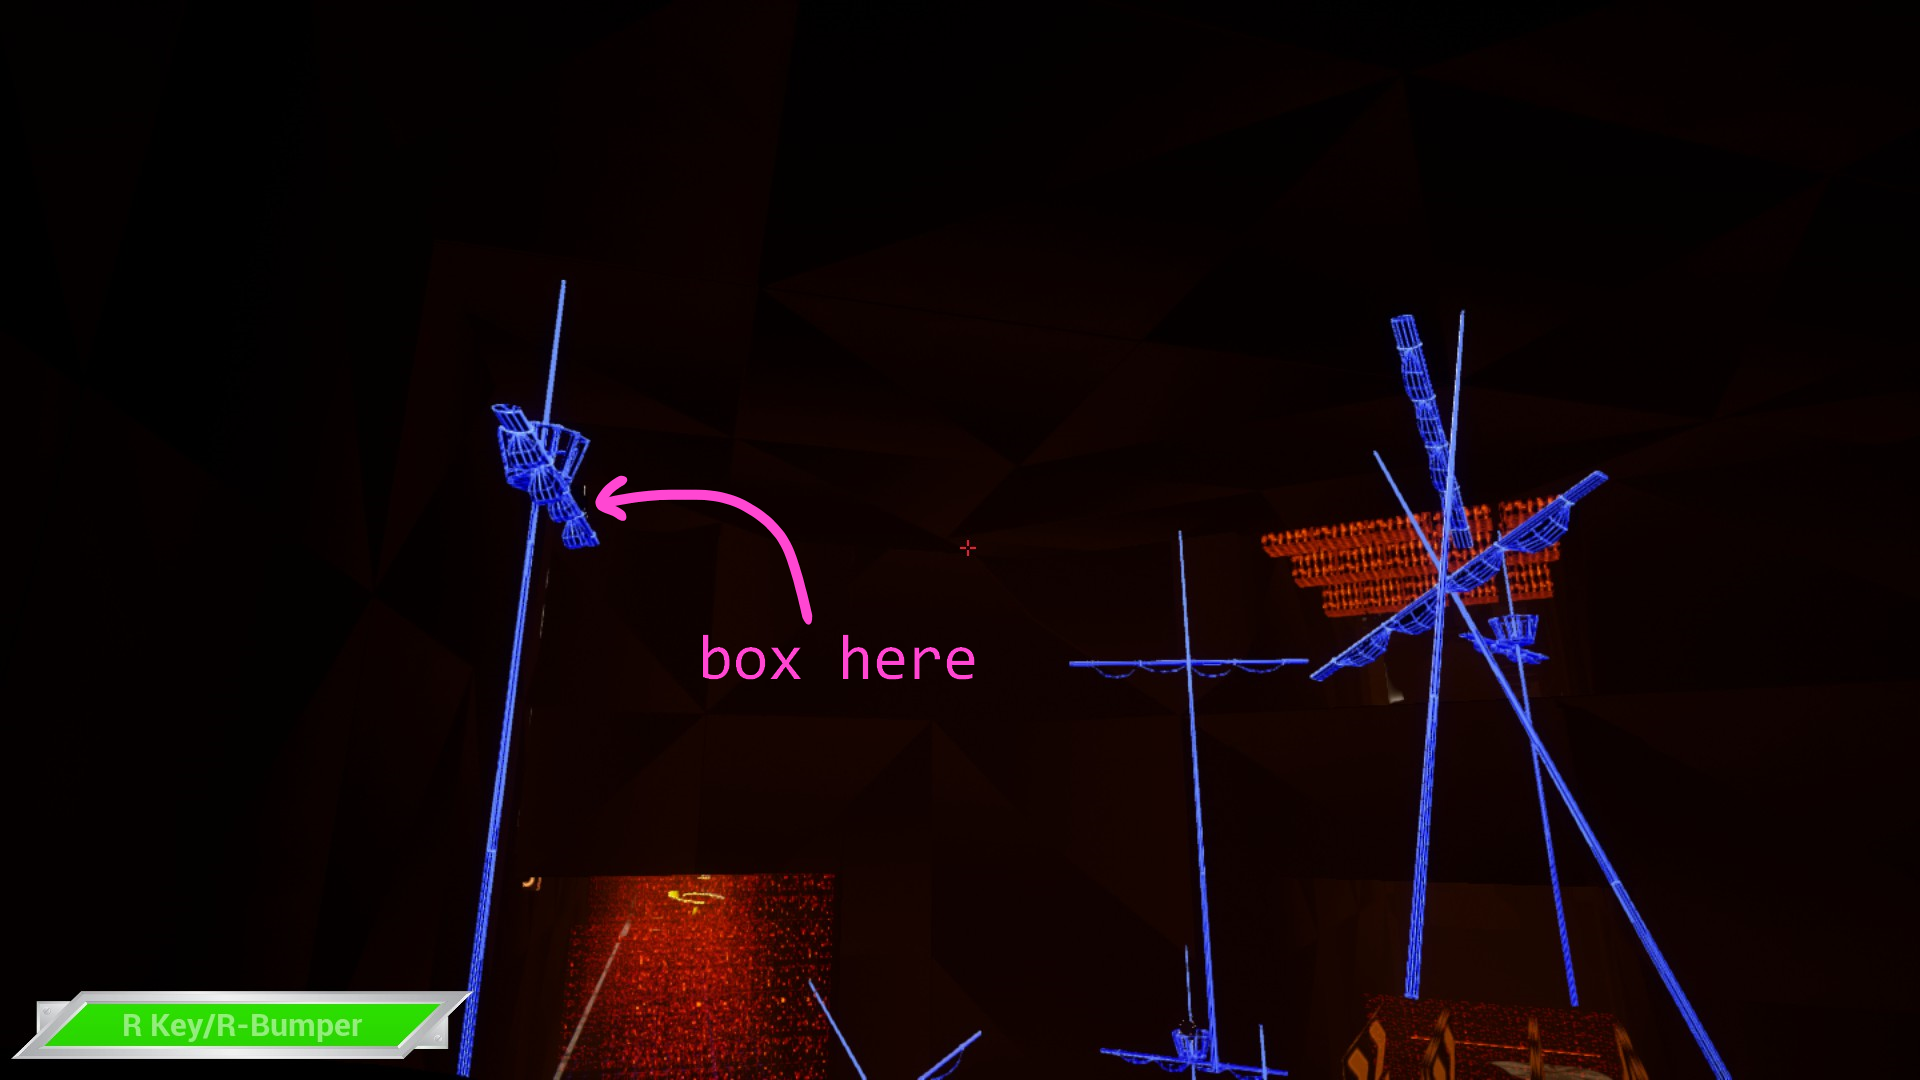
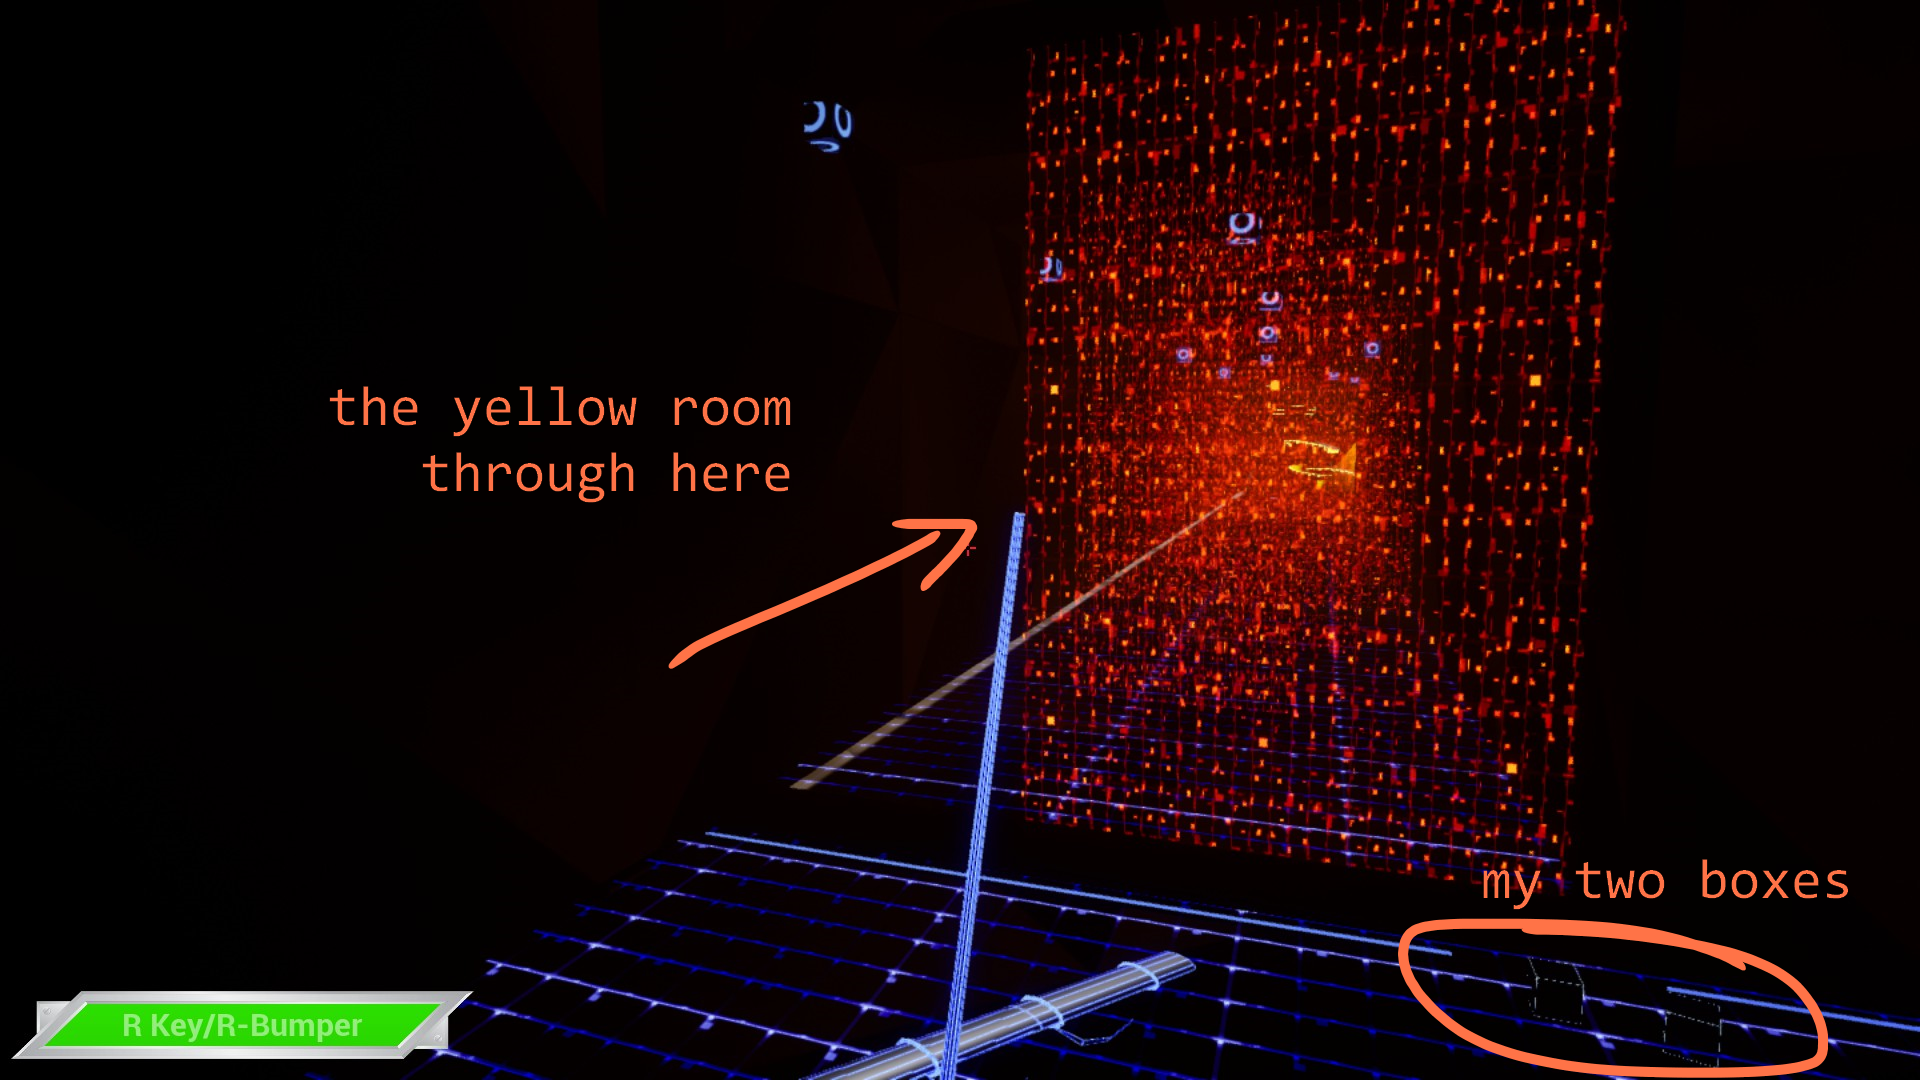
Fall onto the box and grab the next nearest box. Move one in front of you, jump to it, then move the other in front of you. Continue like this until you reach the orange grid walls to the left of the room. This is a hallway to the yellow room. You will need to pass through it by grabbing the glowing cubes between the orange grid walls and trying not to hit the walls or floor. You can only jump twice while passing through this area, so make the most of the change in trajectory that you get from jumping. (If this section is too frustrating, you can use your cubes to jump back to the maze (under the entrance you initially entered through) and find your way to the yellow room from there. I don't like the maze so i haven't made a map for it yet. sorry)
The yellow room has five switches around its edges, a yellow crescent moon tower in the back corner, and a boost pad in the middle high in the air. We need to reach the boost pad by turning on five platforms, turned on by standing on the five switches. The correct order is middle-right, middle, middle-left, left, and right (when viewed from the maze entrance).
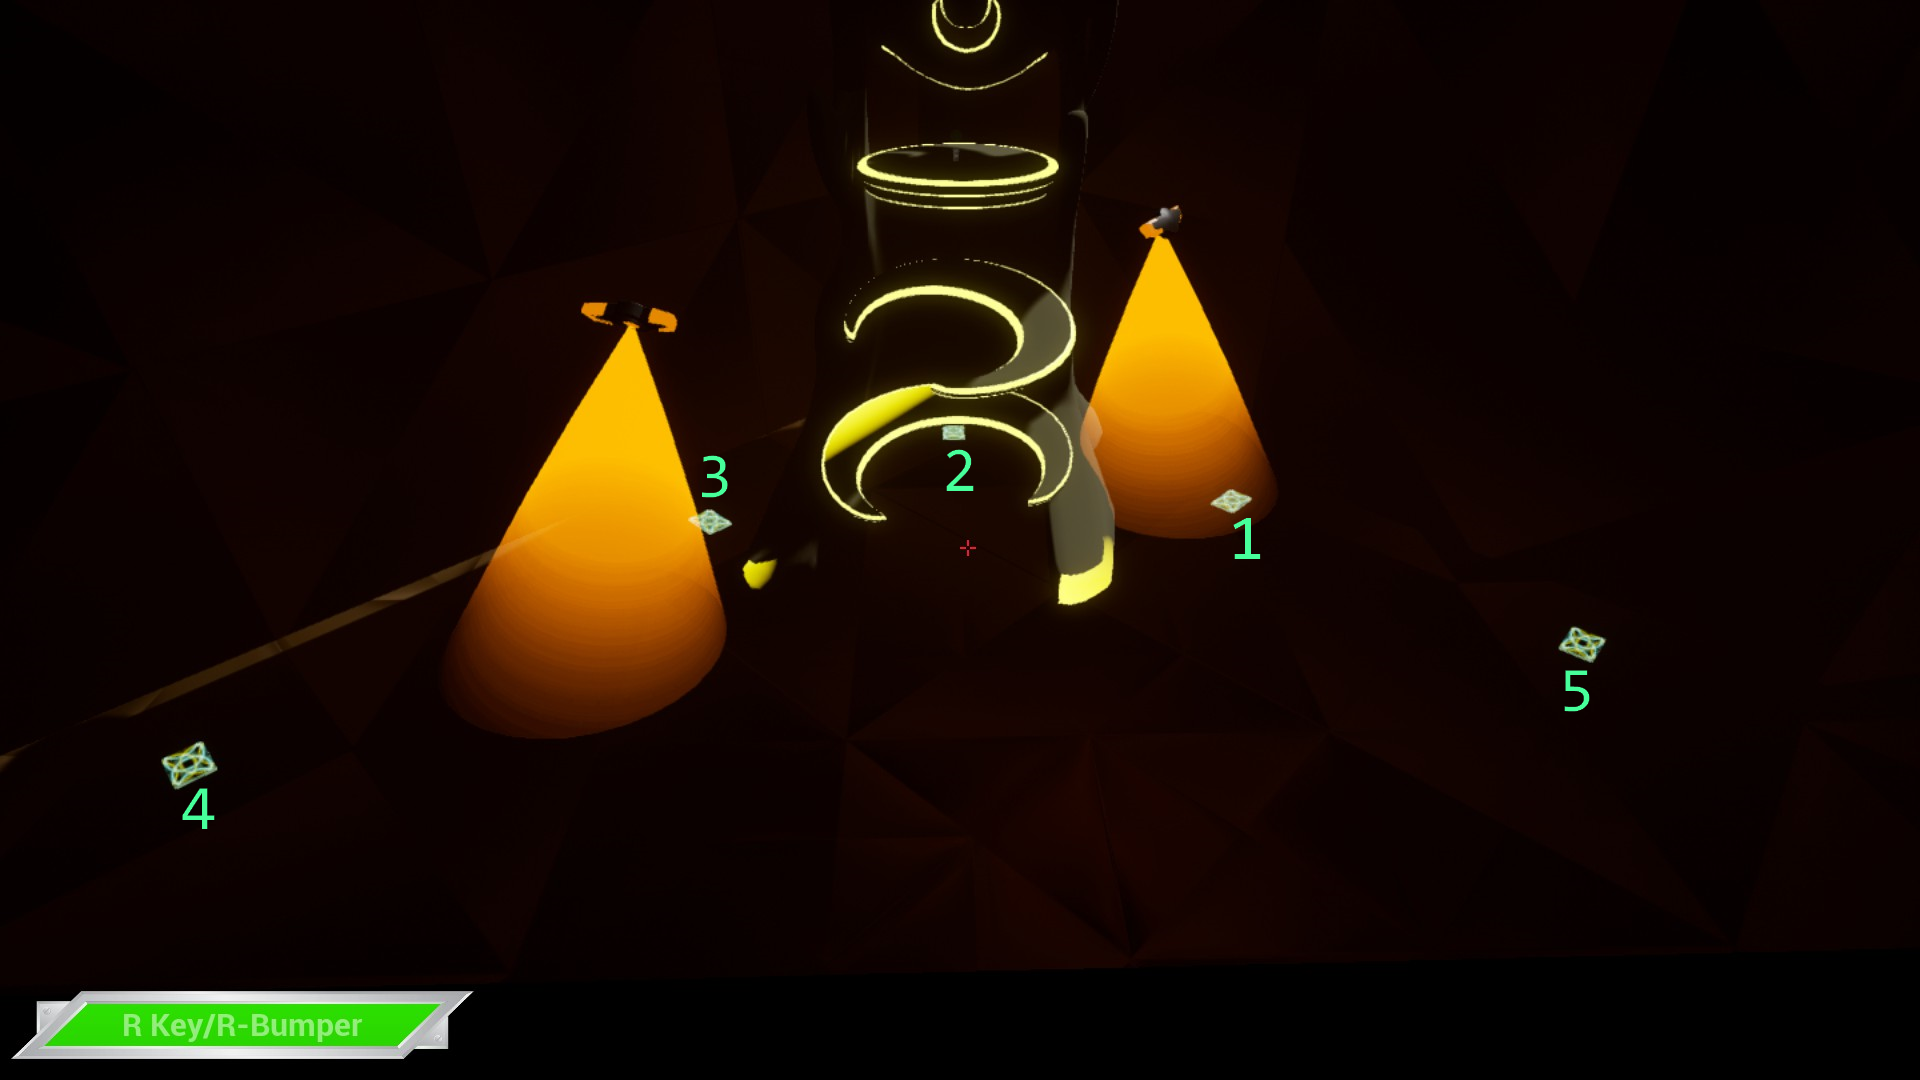
Jump up the platforms that have been activated by the five switches and jump into the boost pad. It will launch you to the top of the level, an entrance similar to the one we used to enter the blue room. Now that you're up here, turn around and double jump toward the yellow tower. An invisible floor will catch you and you can walk straight to the second orb.
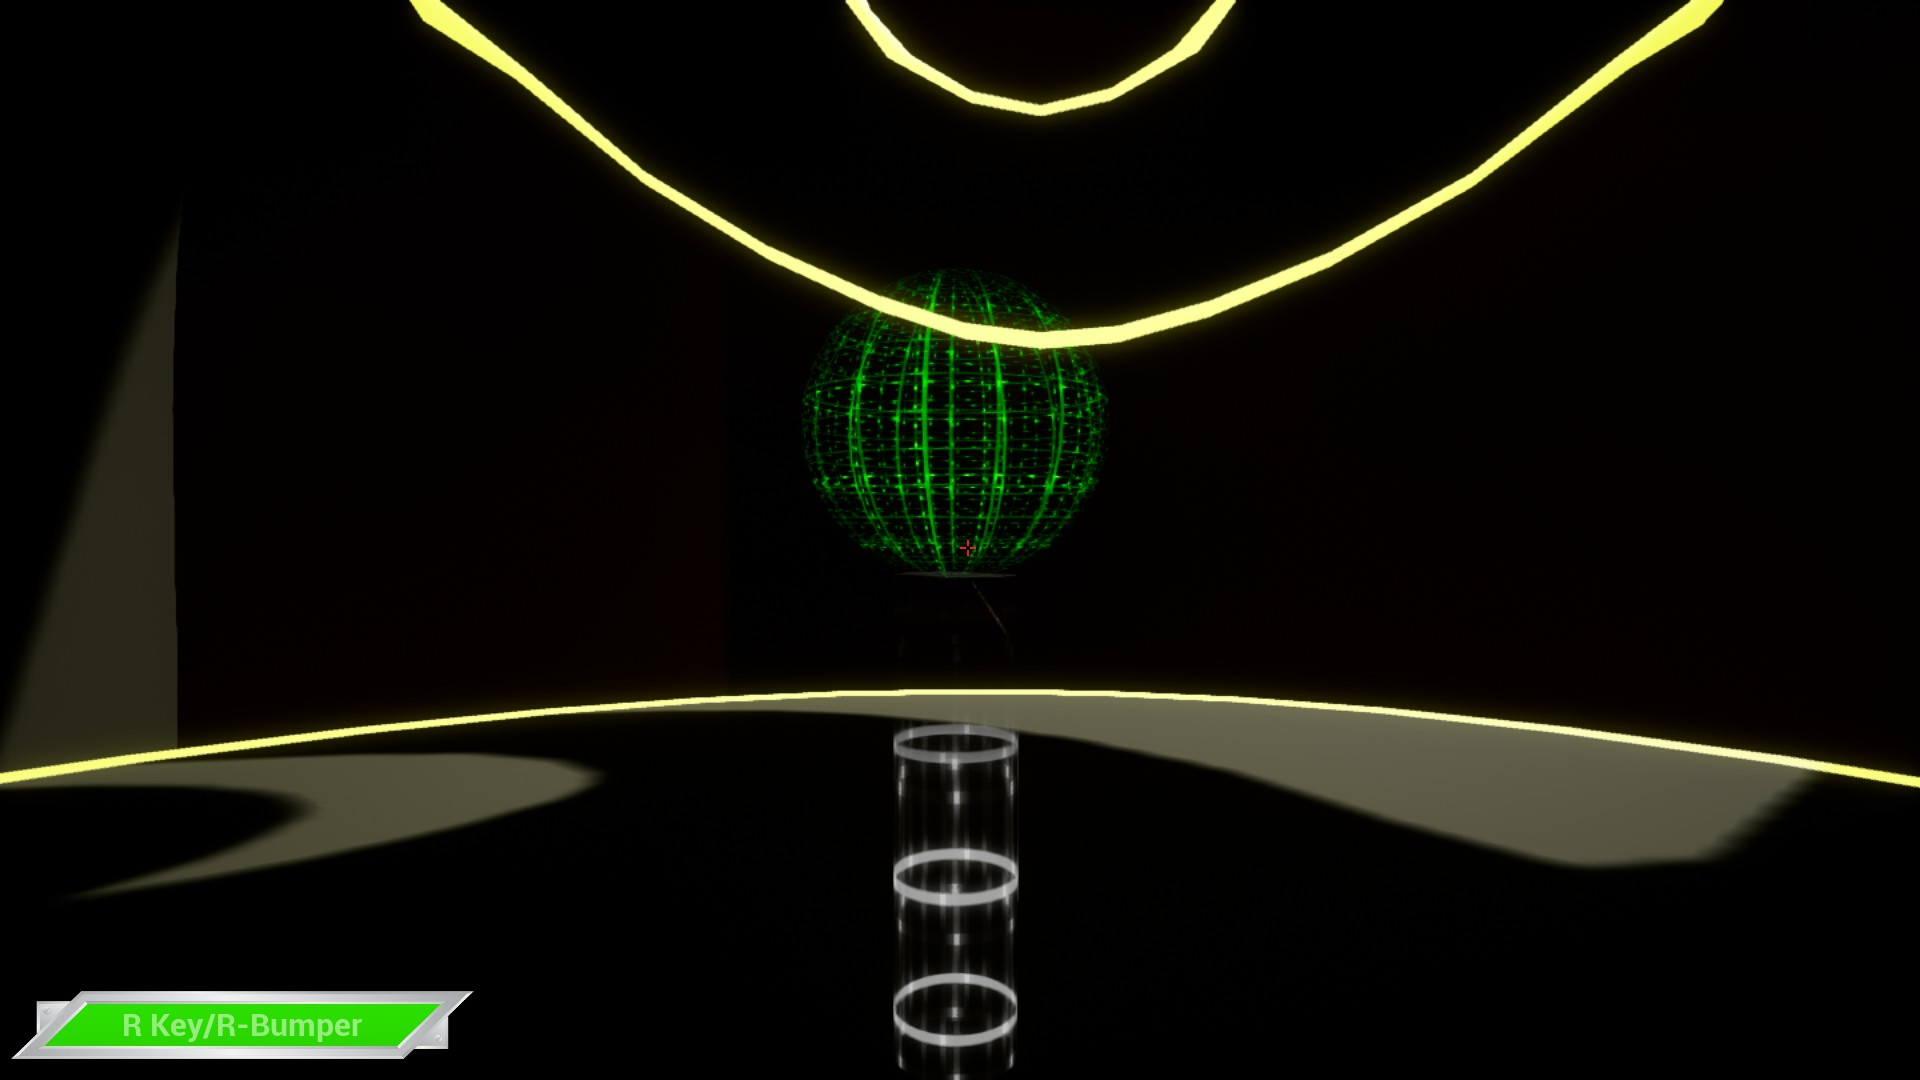
Congratulations, that's two of four orbs! You're halfway there.
Orb Three: Love (i think, i can't remember lol) (purplish room)
To get to the next orb, jump back up the platforms and to the jump pad, then through the top entrance. From here, we're going to climb over the top of the maze to the next room. If you fall, just complete the maze normally or die to a seeker to reset yourself. To get on top of the maze, jump to the nearest staircase and then to the top of a maze wall. Walk to the opposite corner of the map.
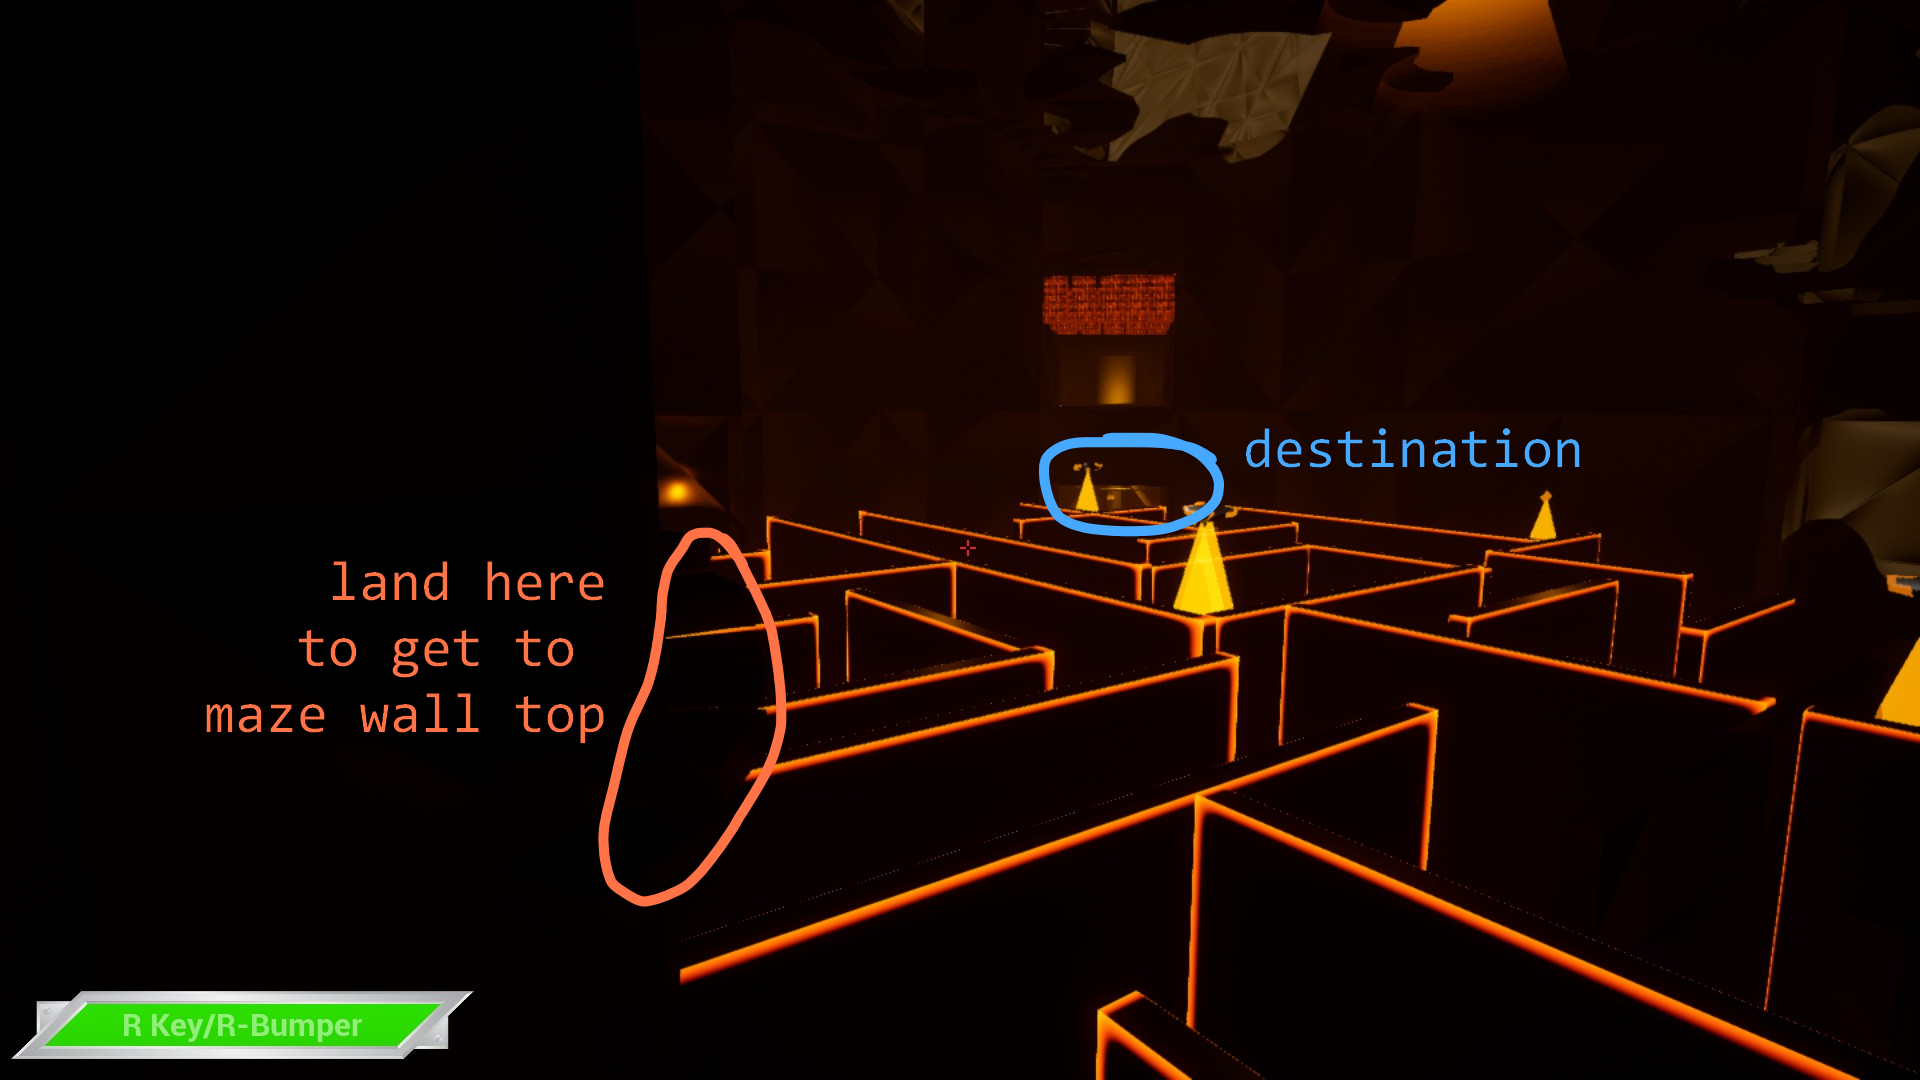
I will call it the purple room because though only the floor is purple, "beige room" does not sound good. Next you will need to pass through the orange knife-like obstacles and reach the purple room.
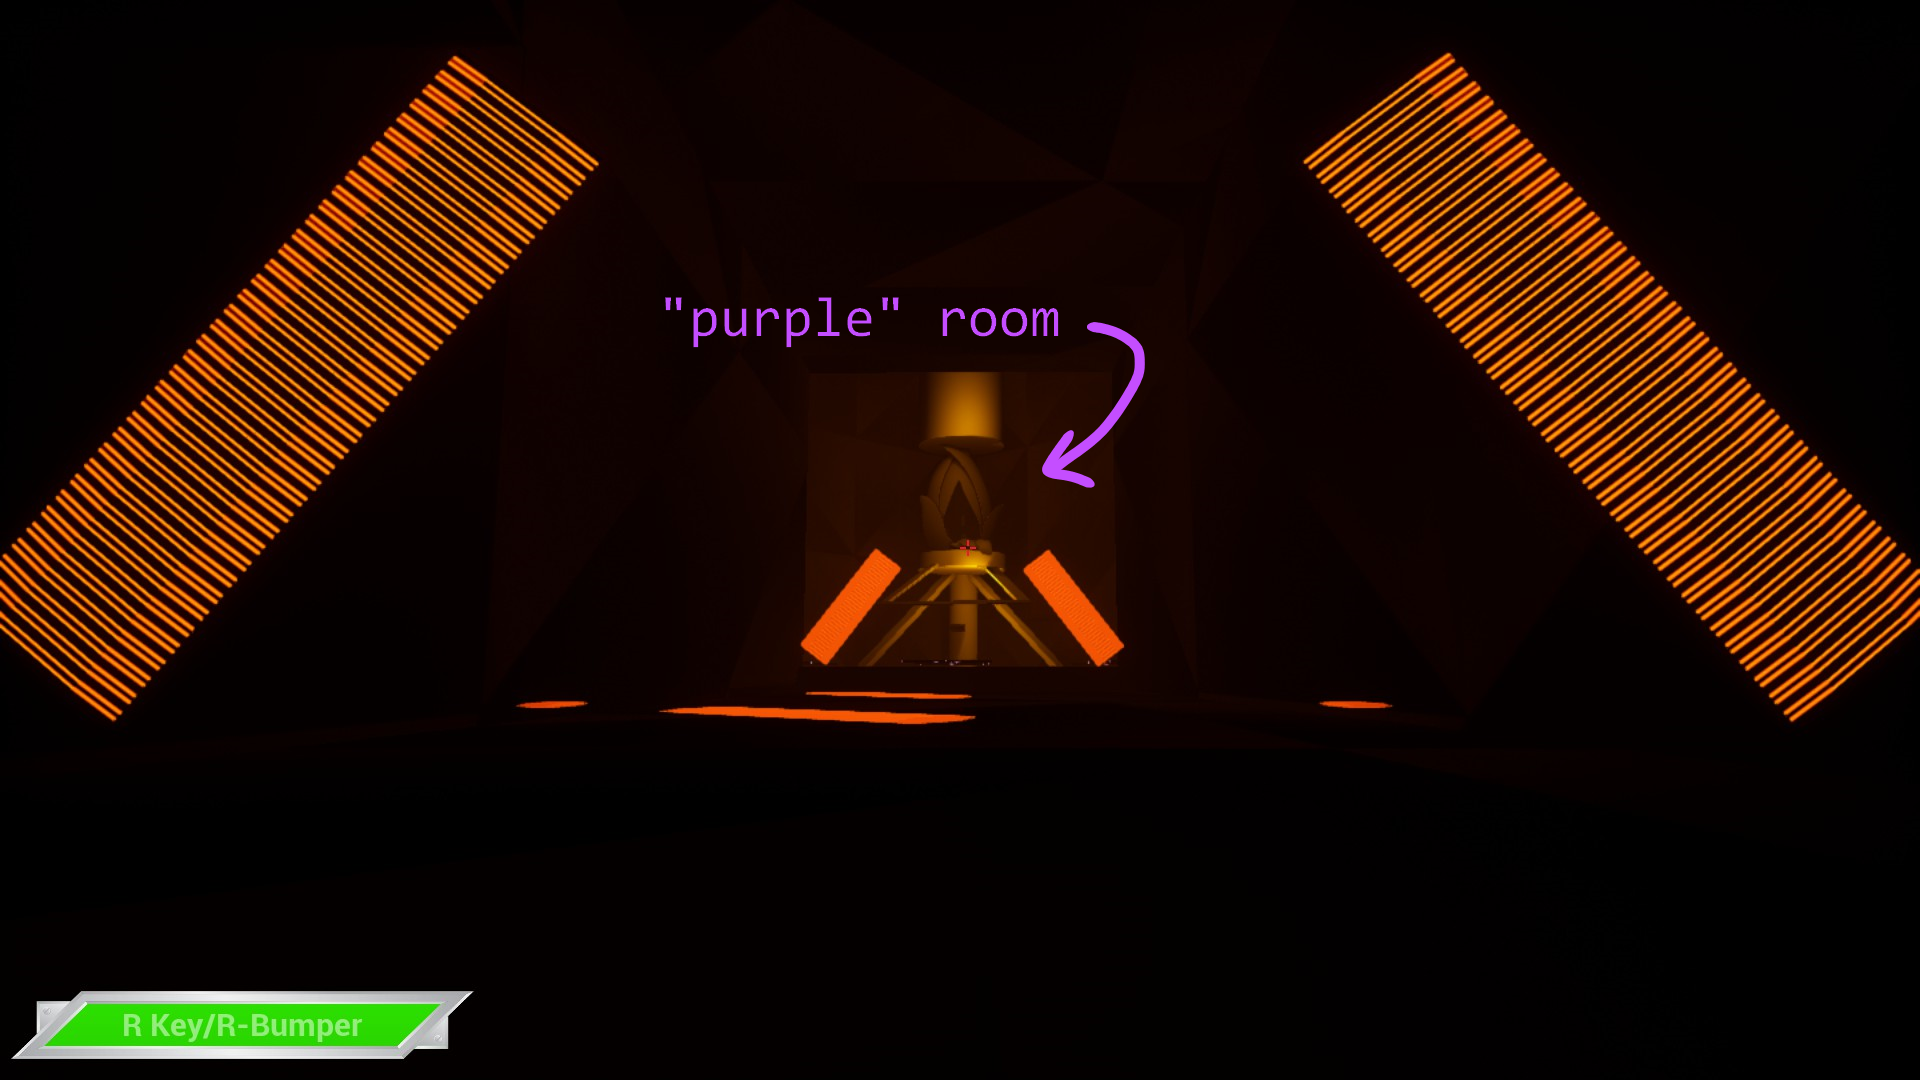
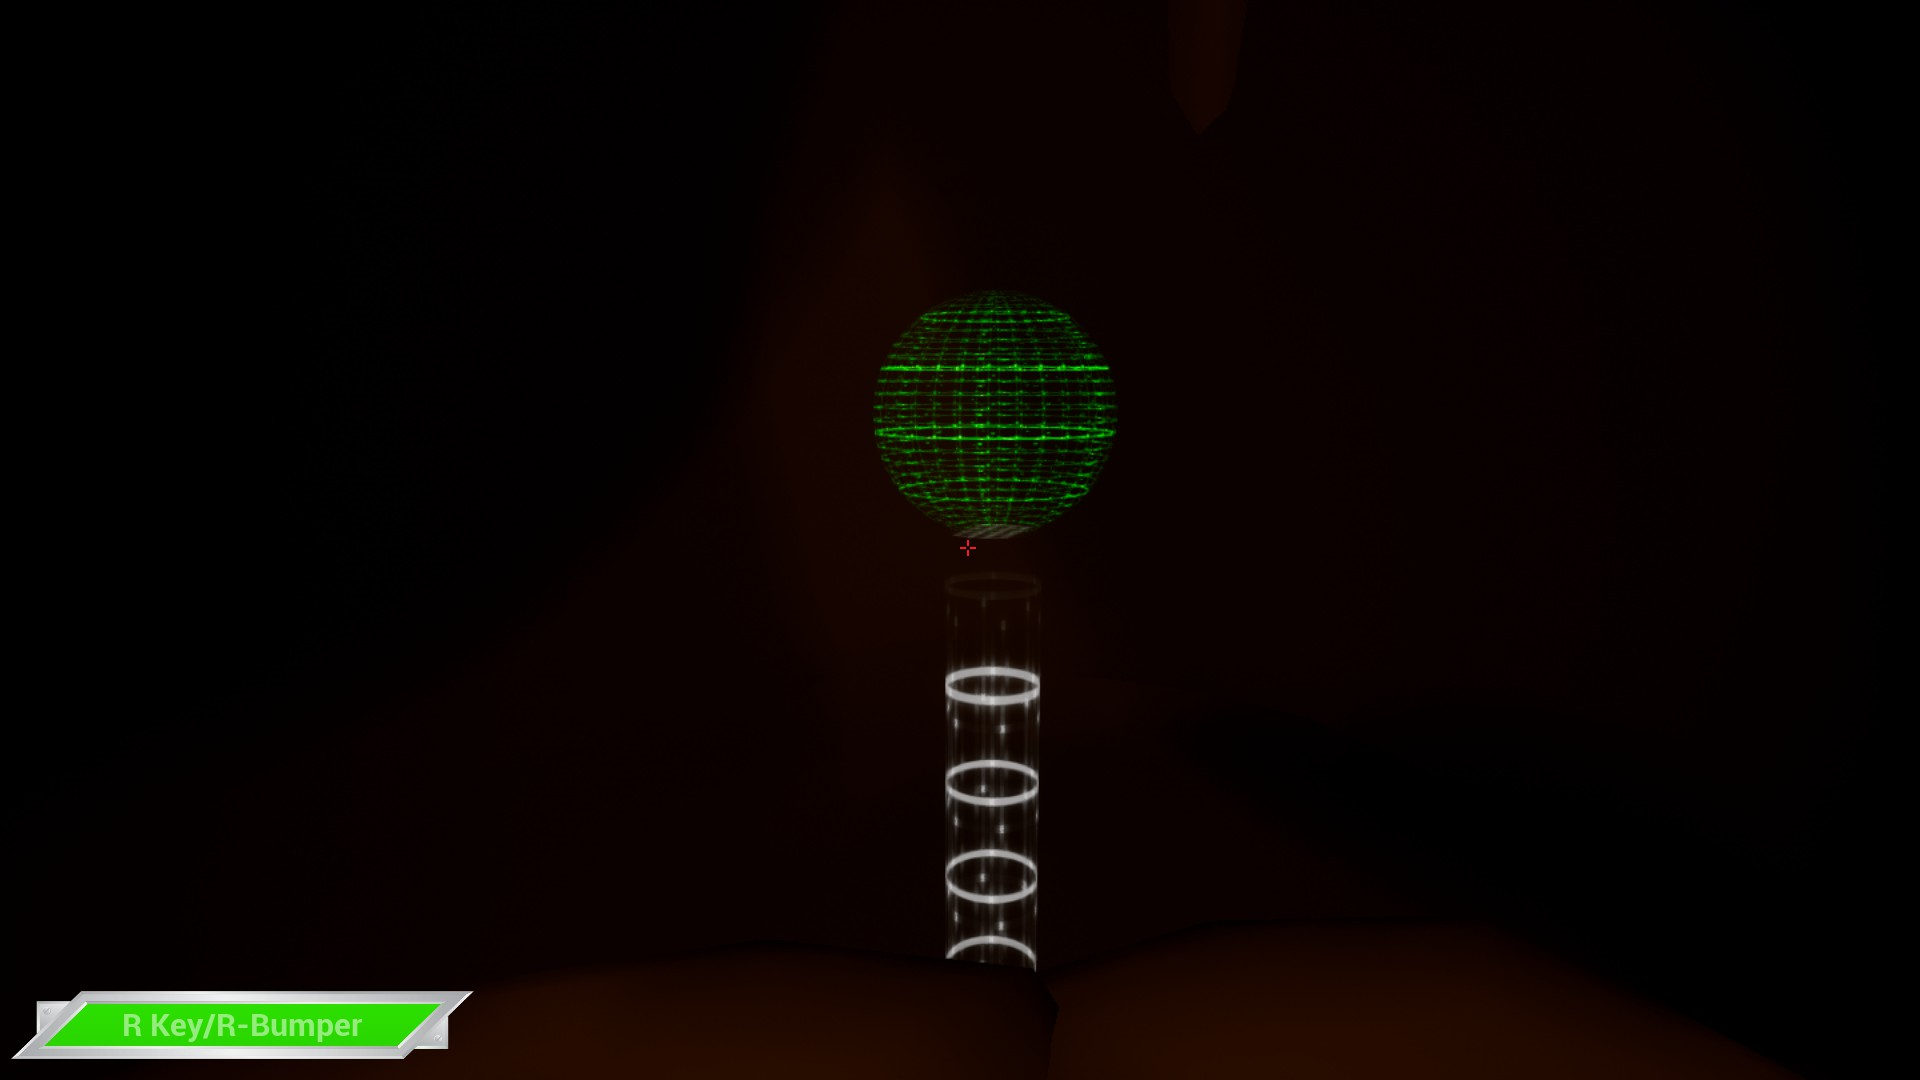
Once you're at the purple room, use your slow-time trick to slow the dissolving platforms and jump to the tower at the back corner of the room. Once there, walk up the ramps leading to its top and grab your third orb.
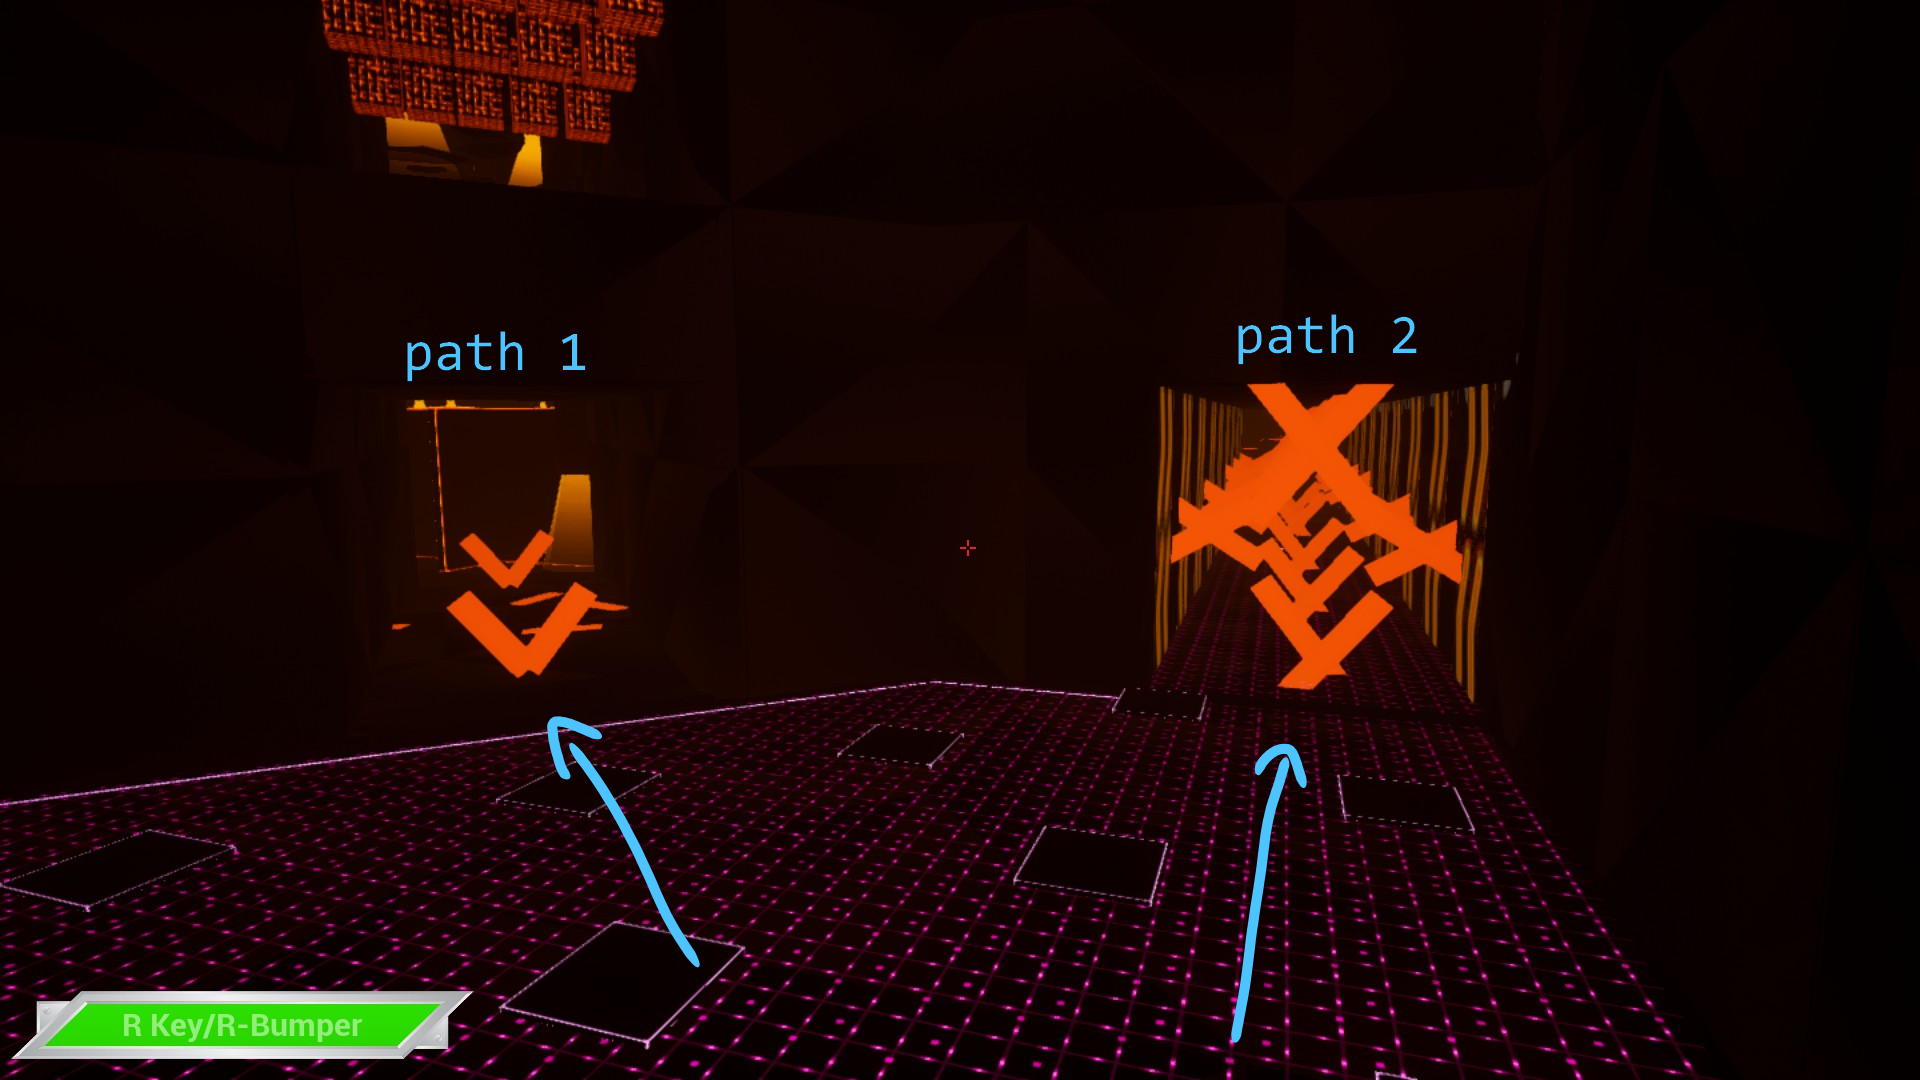
Orb Four: Hate (red room)
The last orb is in the hate room. You can get to this room by its associated hallway (path 2) or the maze (path 1). I can't direct you through the maze because I do not like the maze, sorry, you're on your own. If you take path 2, you can get through it by using your slow-time power. Use it to slow the orange knife obstacles and run to the midway point of the hallway. There is a platform there that you can stand on to regenerate your power before you continue.
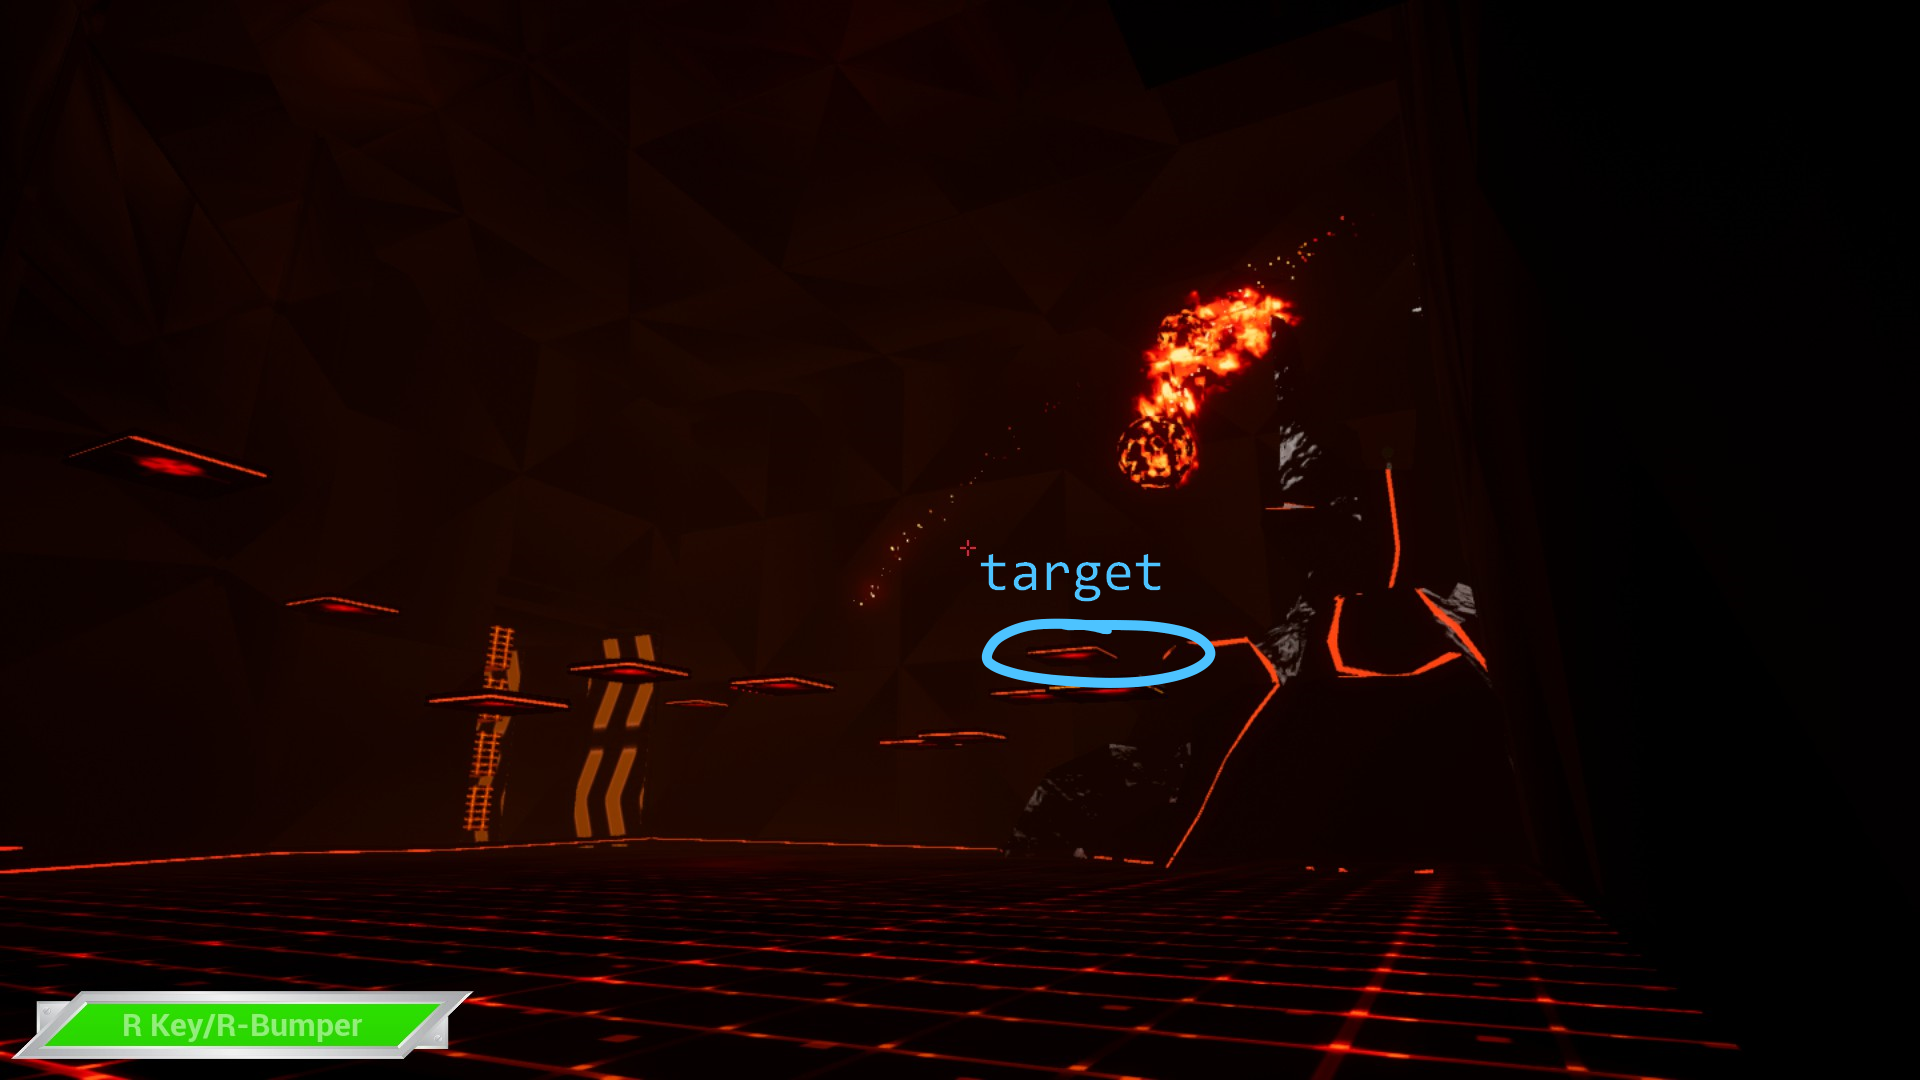
Once you're at the red room, you'll need to get to the stationary platform at the front of the volcano. Use your slow-time power to slow the platforms moving vertically and jump on top of one, then jump and land on one of the platforms moving back and forth in front of the volcano. Keep going until you reach the stationary platform.
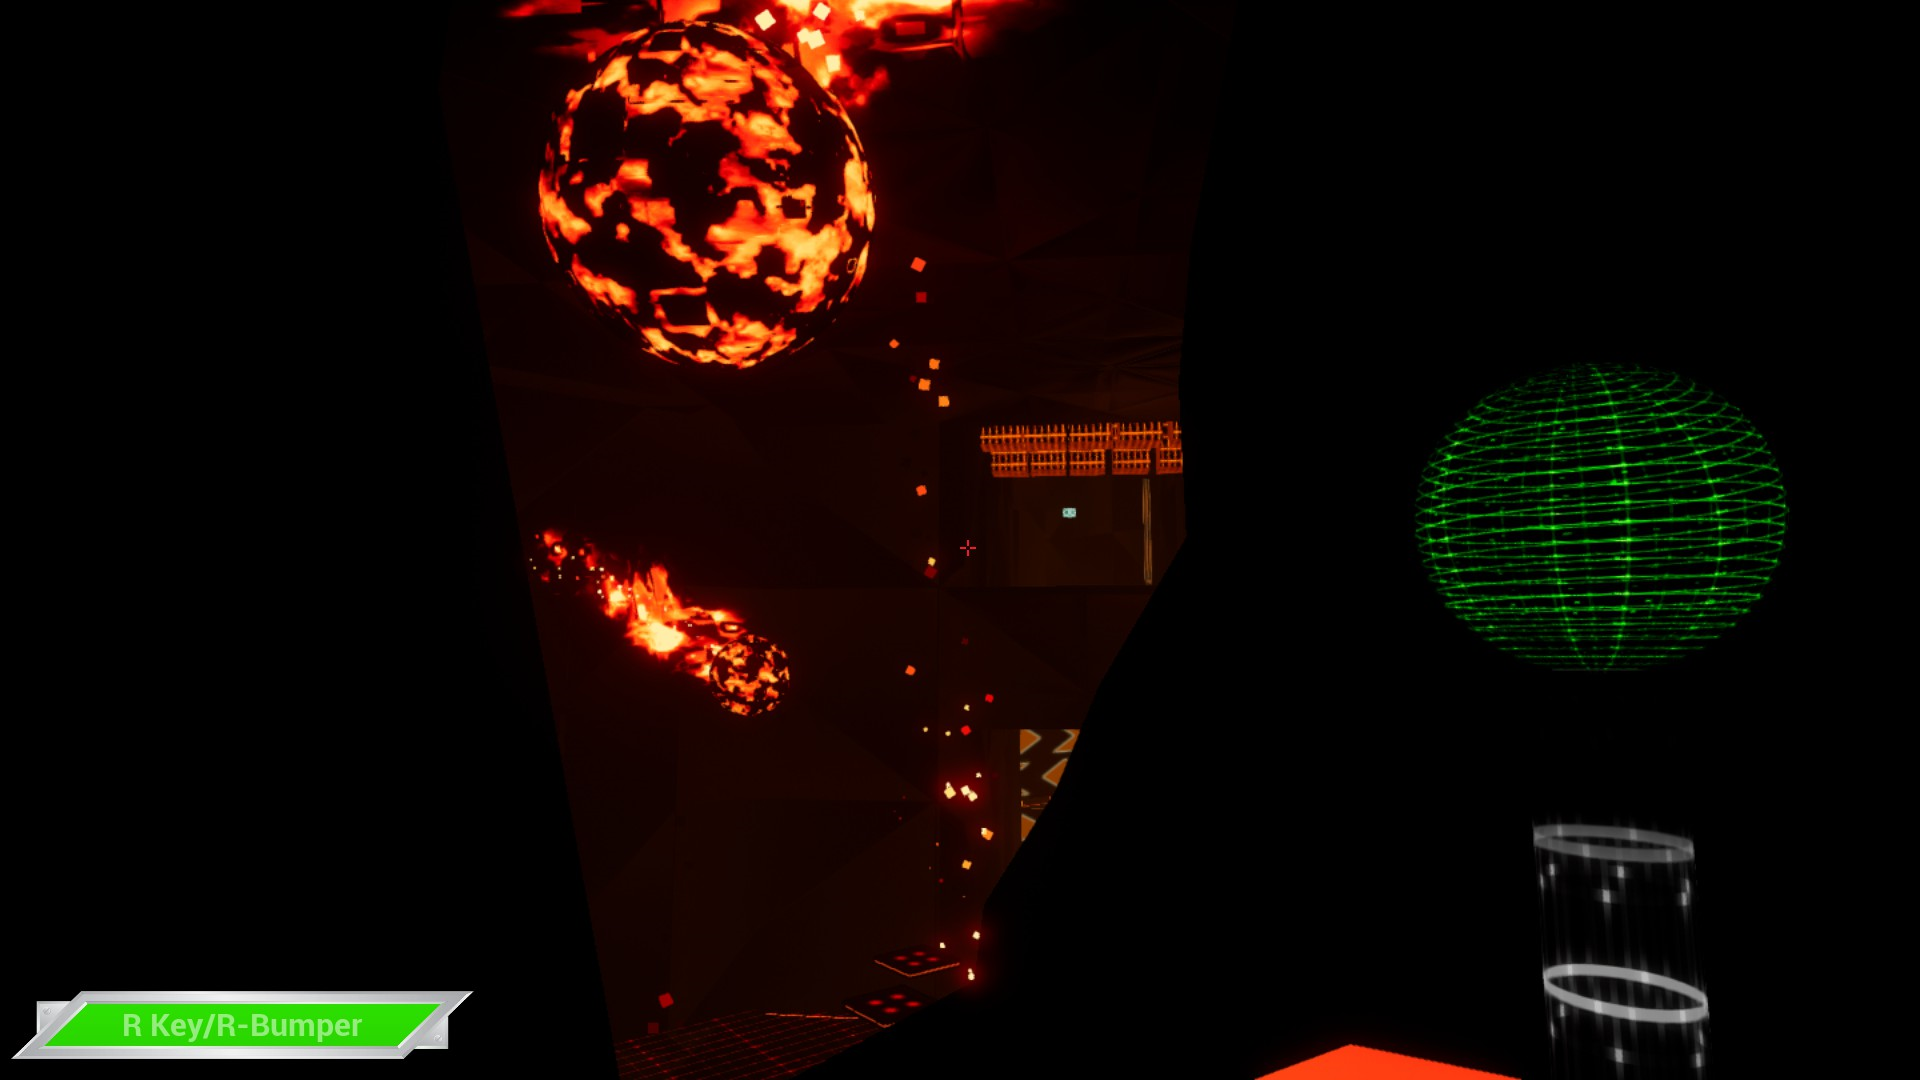
Once you're on the stationary platform it will start to move upwards. Once it reaches its peak, jump off and land on the volcano's top, ducking behind the rock shard at the front. There, you'll find the orb.
End of the level
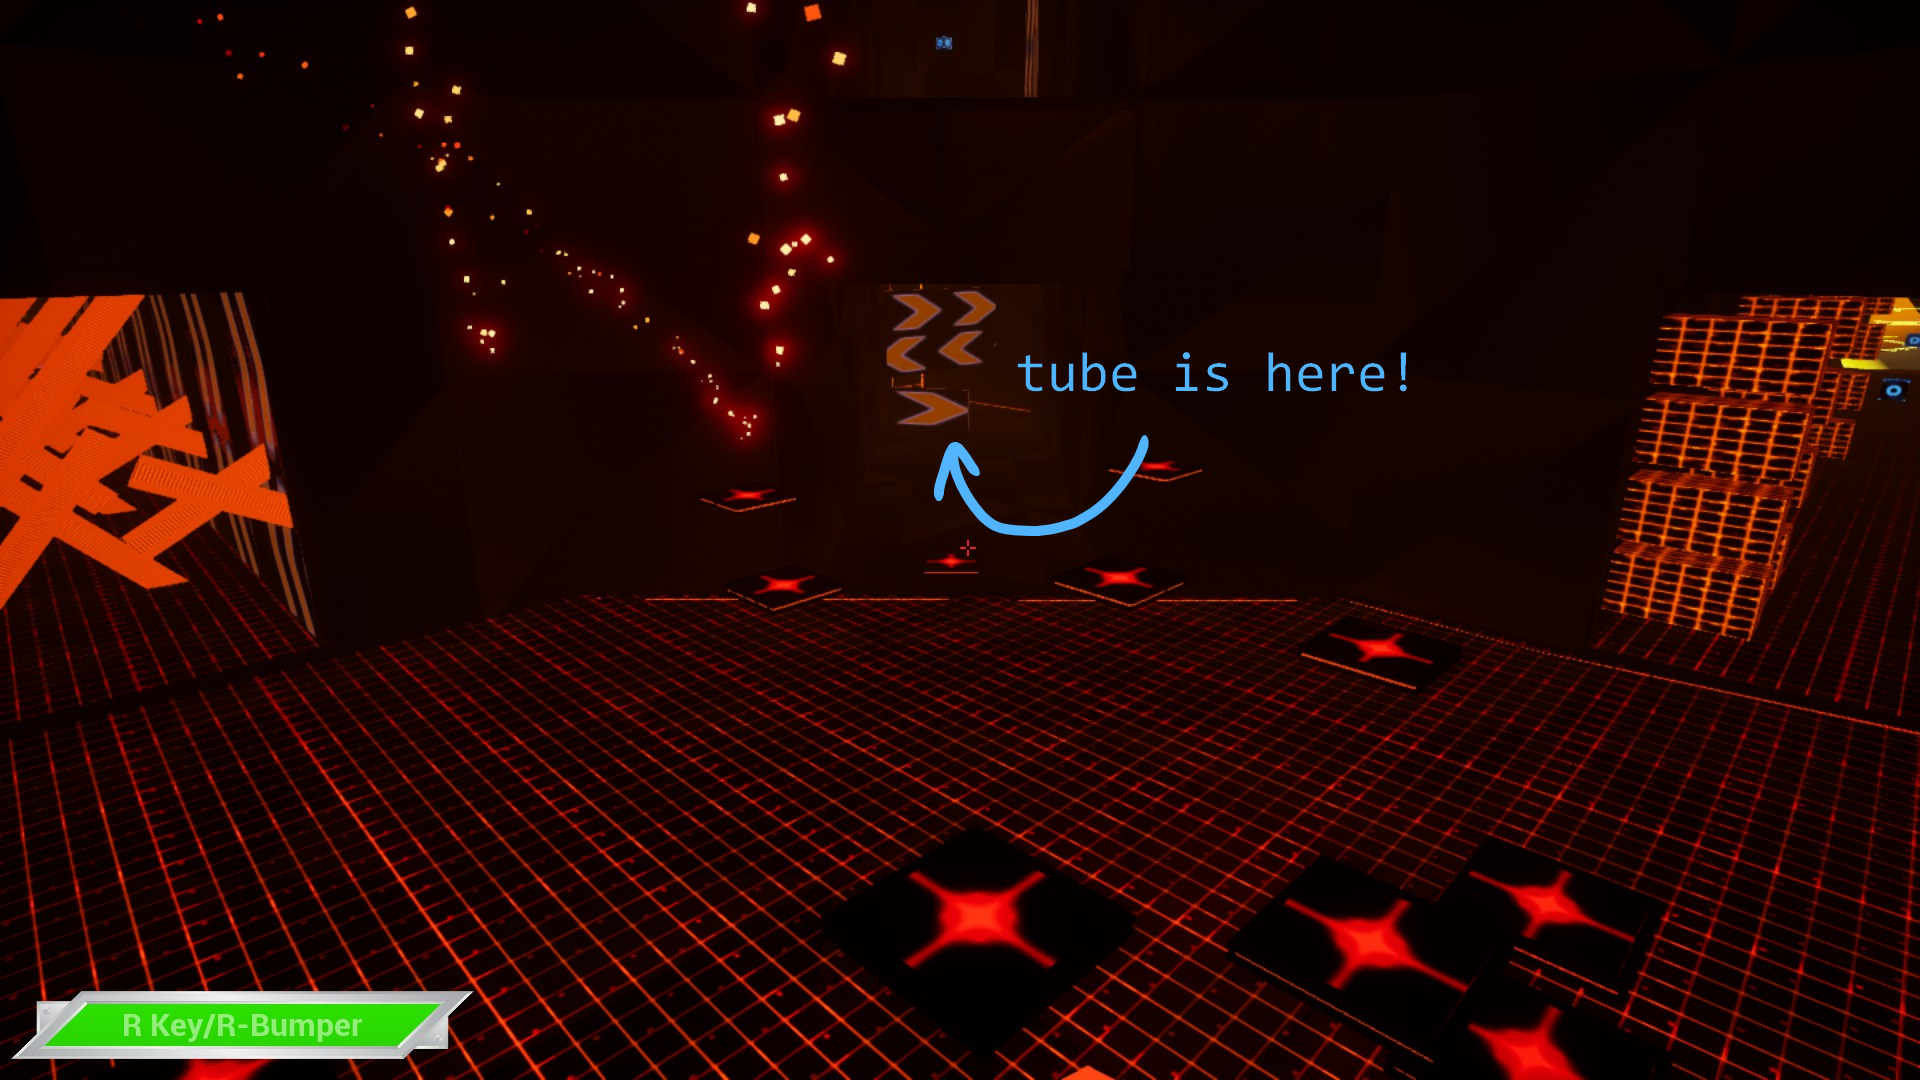
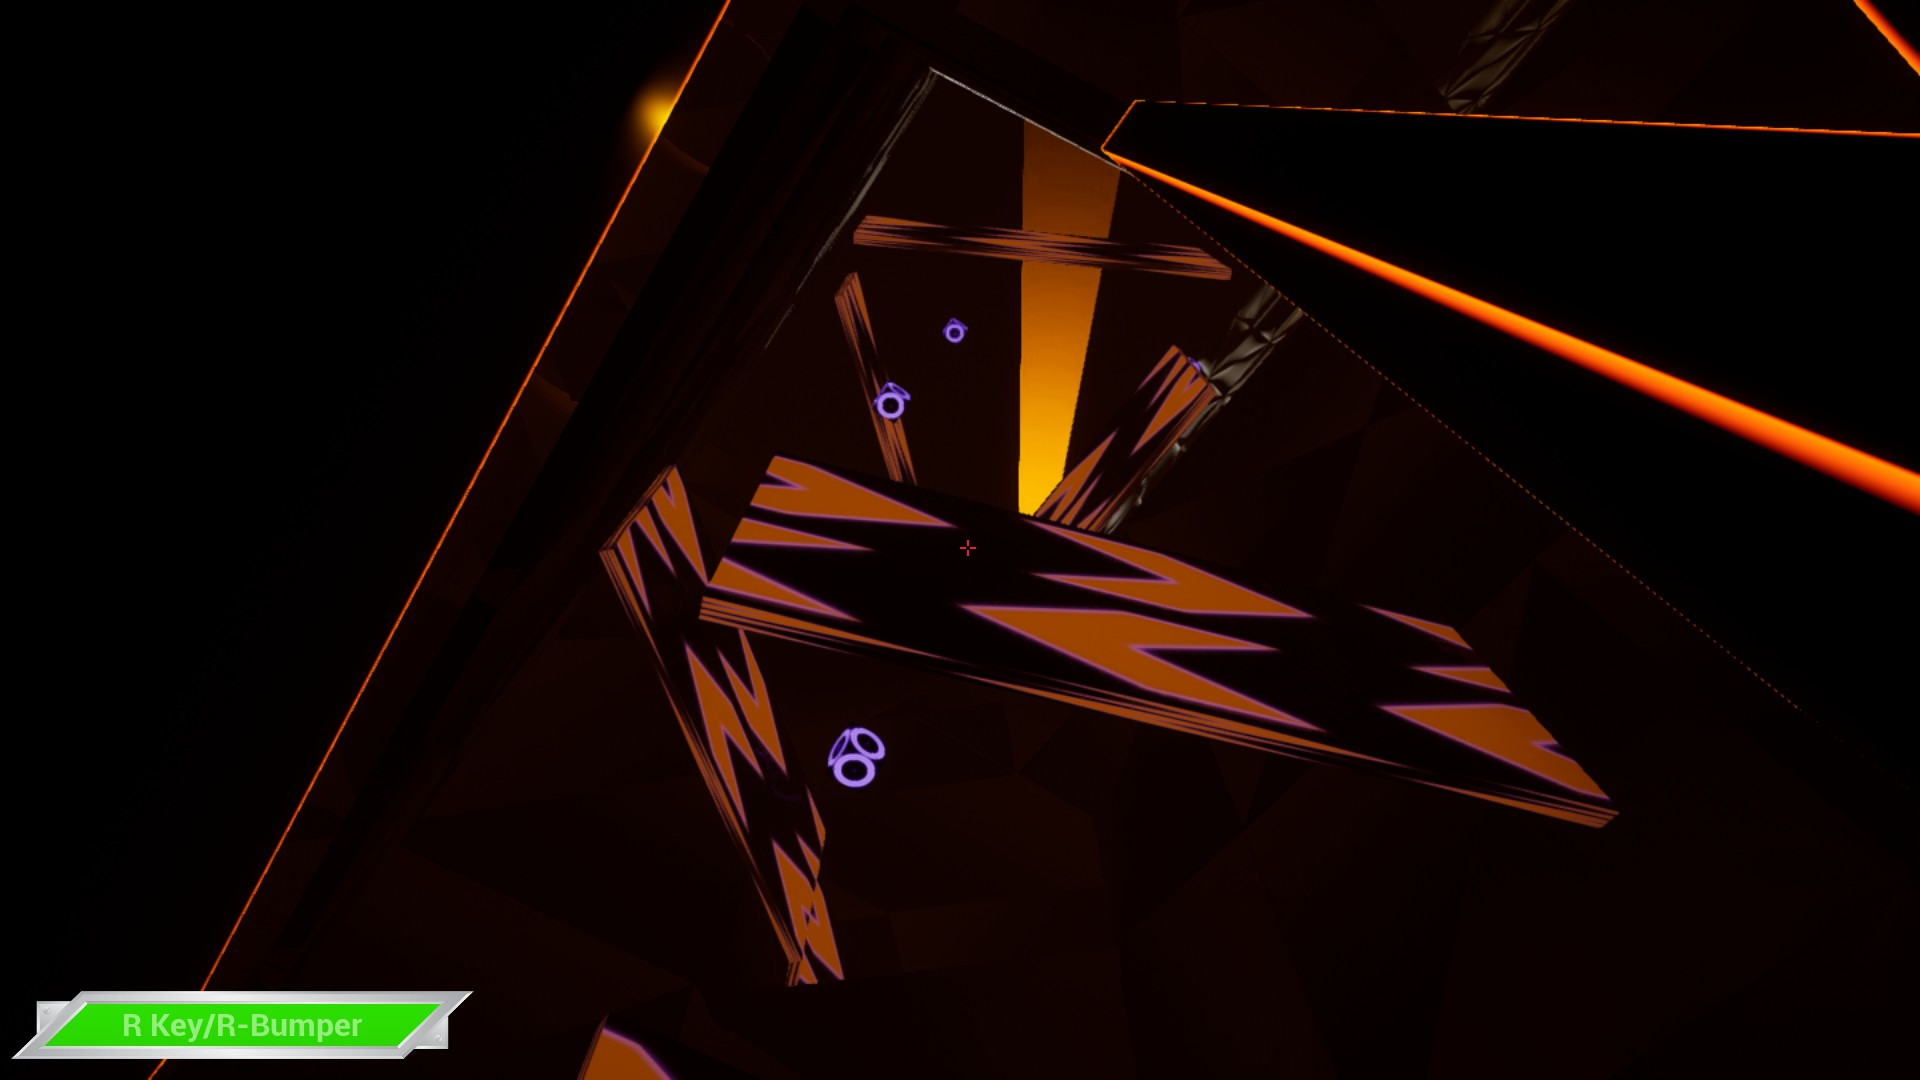
Now that you've collected all four orbs, head back to the maze entrance and you'll find yourself at the tube (mentioned at the start of this walkthrough). You'll need to climb up the tube to get back to the start of the level.
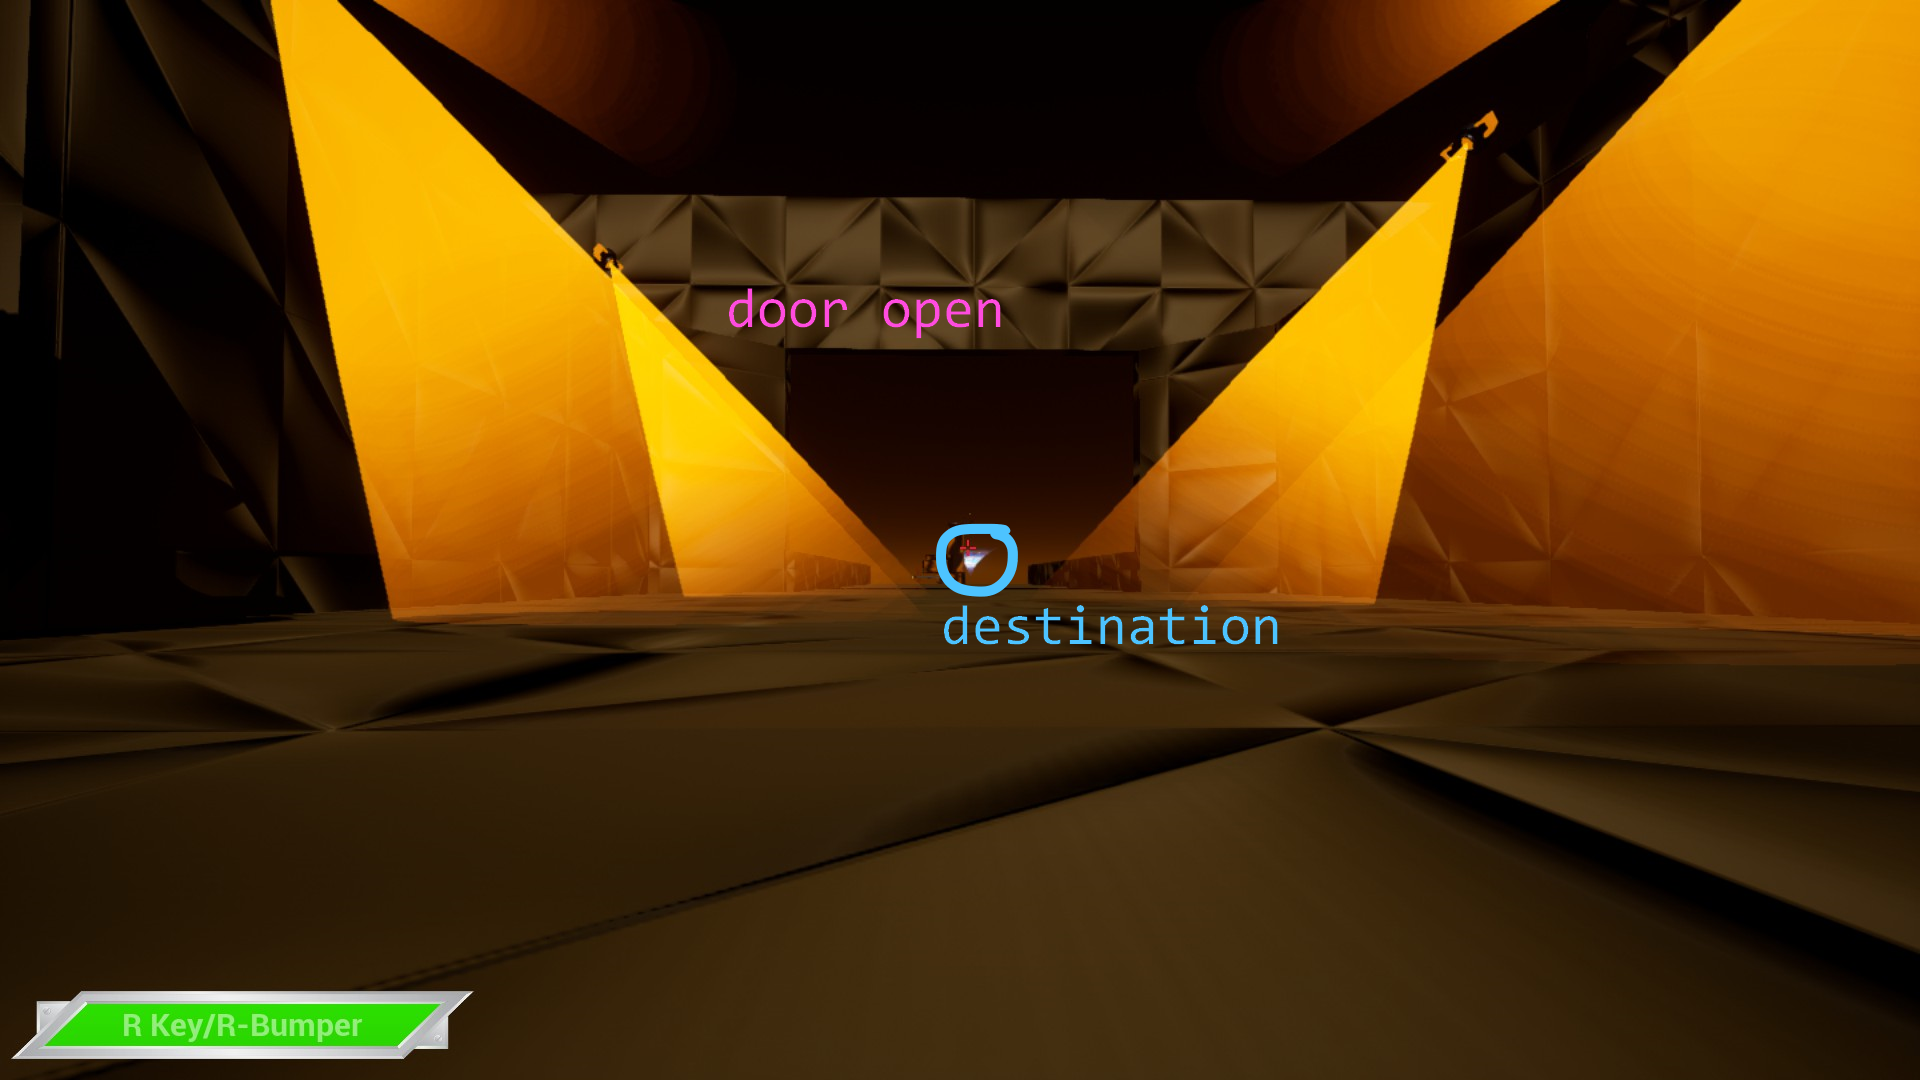
Once you're back to the top of the level, head to the door that was blocked before by a red grid. The grid should be gone and the doorway open. The end of the level is the vortex in the distance, and the rest of the run there is pretty linear. Good job, you've finished the game!
